





figure drawing
Figure Drawing
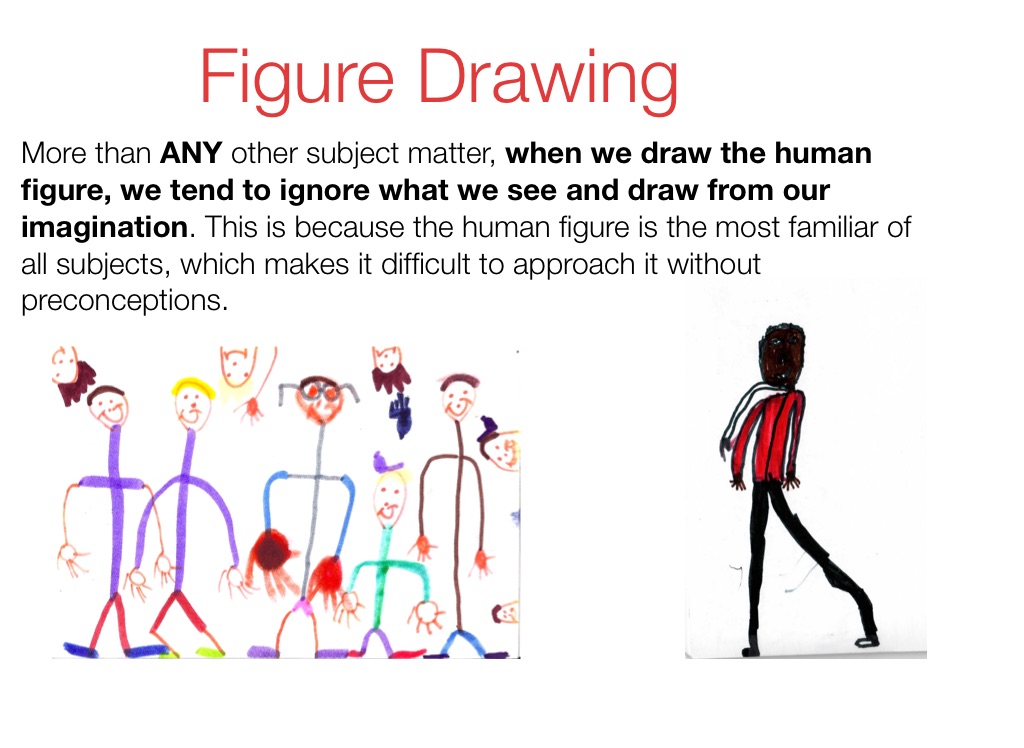
More than ANY other subject matter, when we draw the human figure, we tend to ignore what we see and draw from our imagination. This is because the human figure is the most familiar of all subjects, which makes it difficult to approach it without preconceptions.
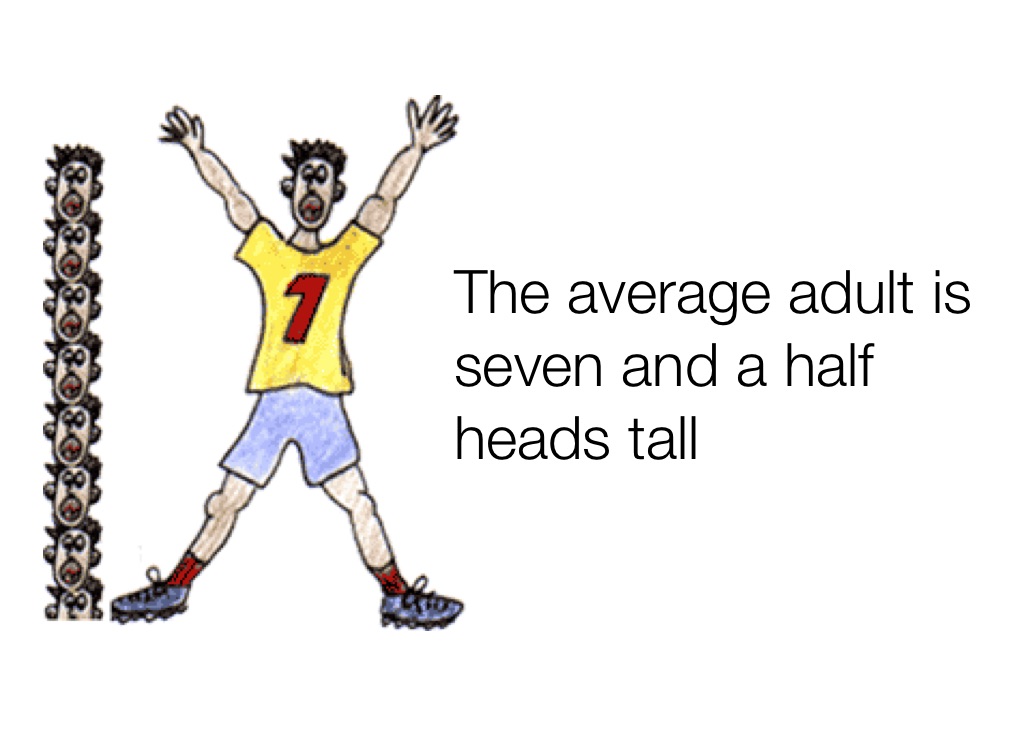
The average adult is seven and a half heads tall
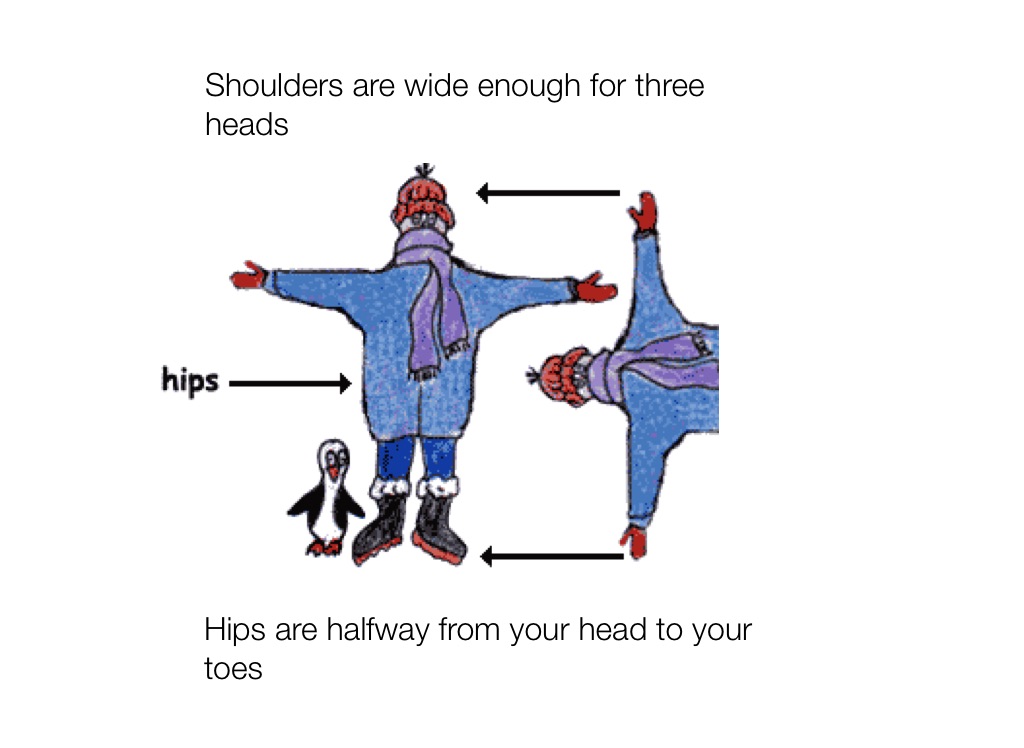
Shoulders are wide enough for three heads
Hips are halfway from your head to your toes
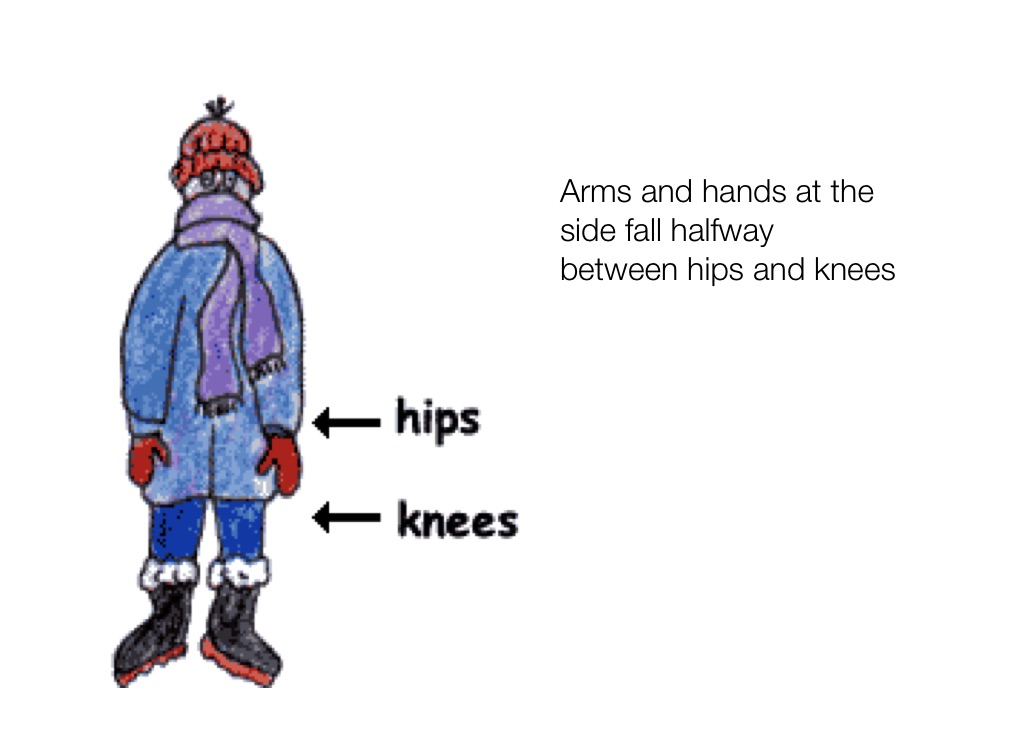
Arms and hands at the side fall halfway between hips and knees
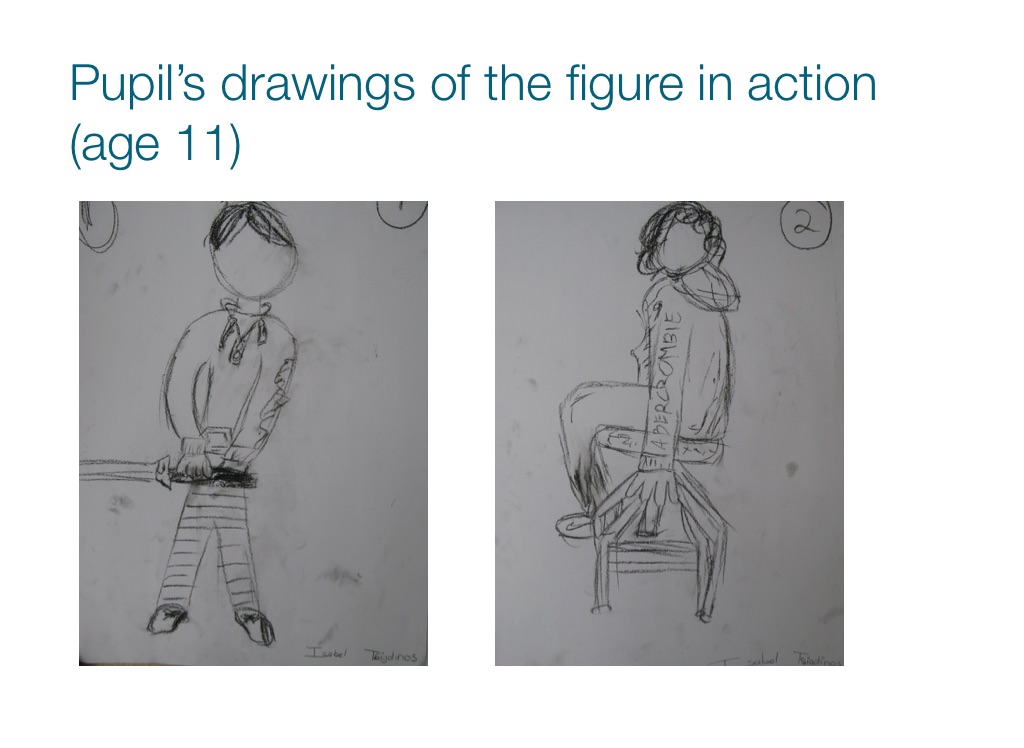
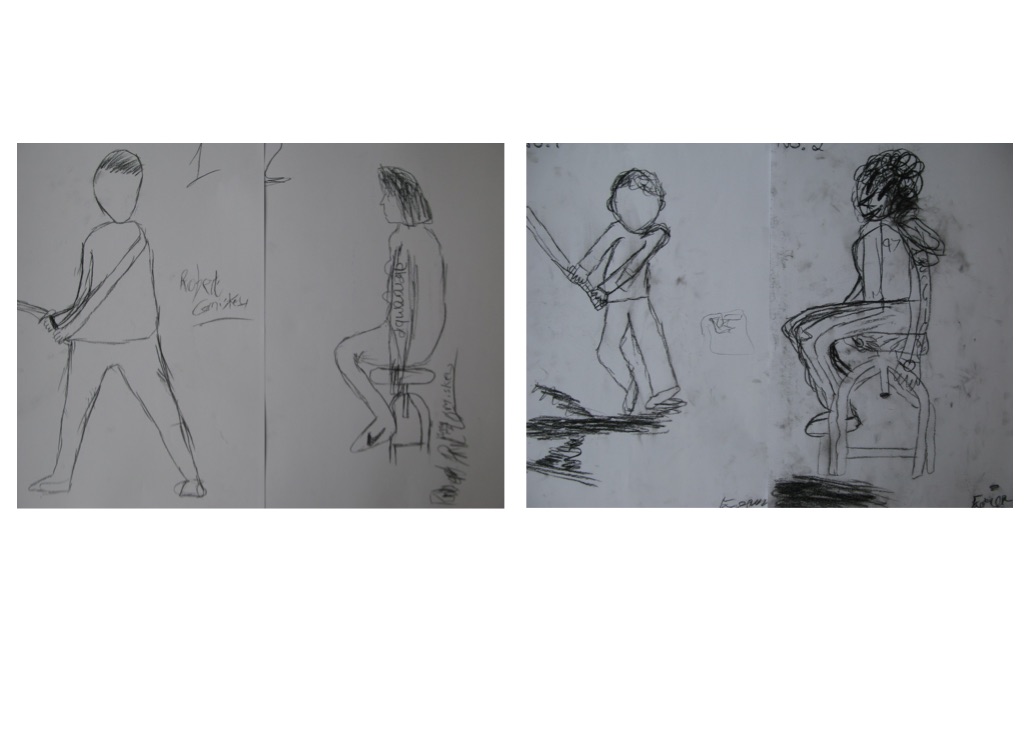
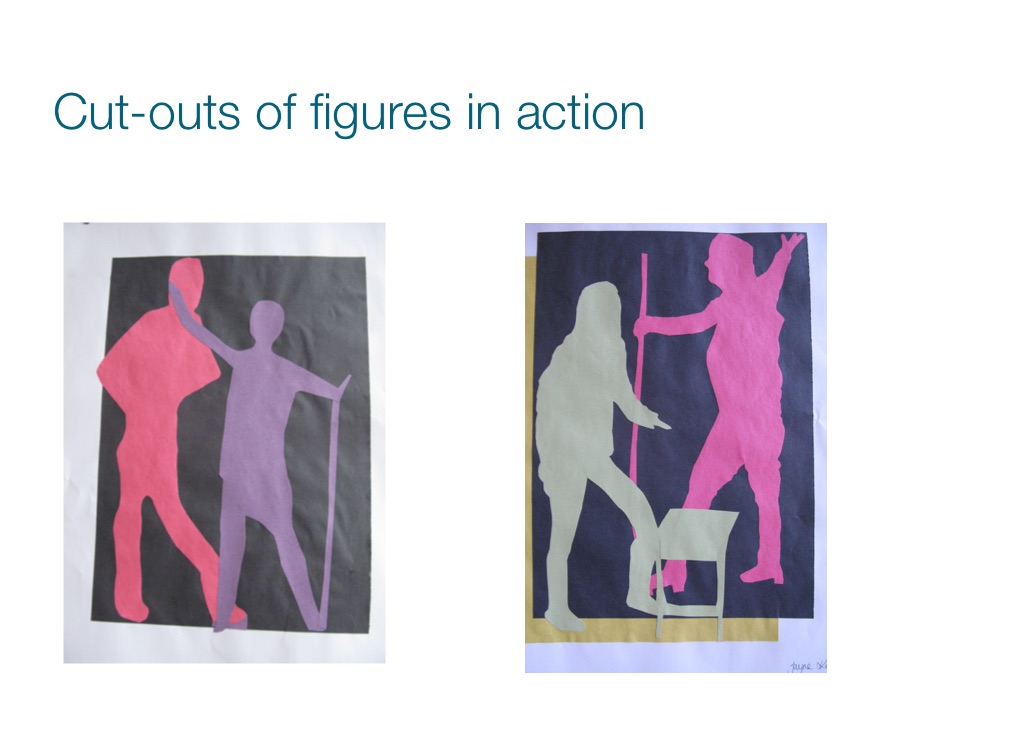
Pupil’s drawings of the figure in action (age 11)
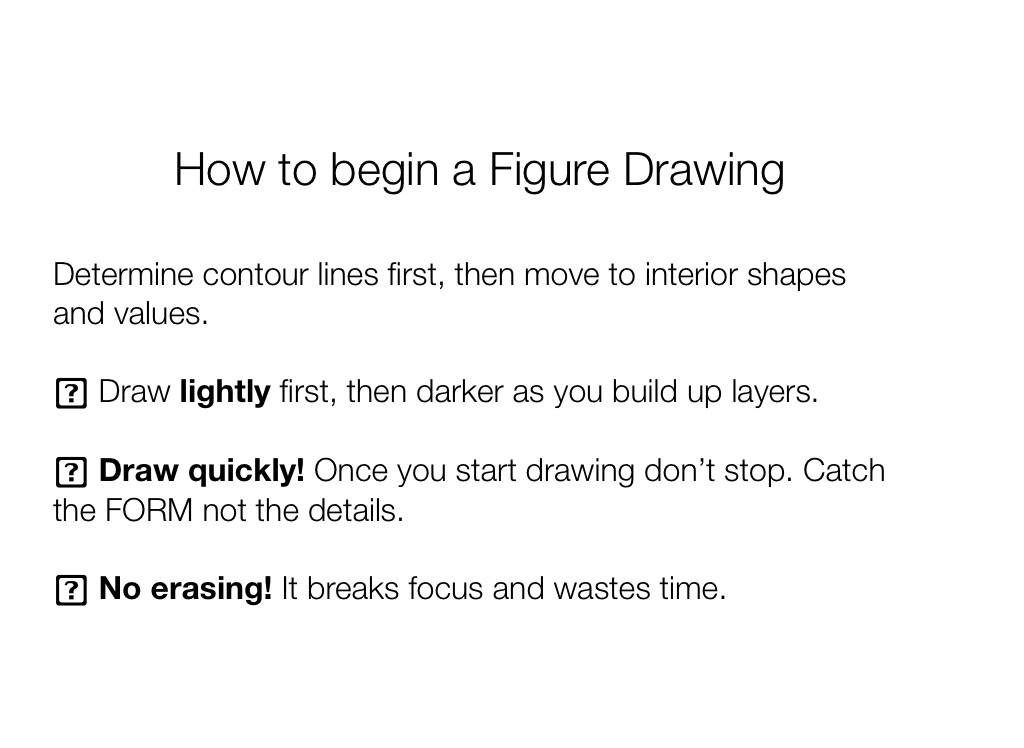
How to begin a Figure Drawing
Determine contour lines first, then move to interior shapes and values. Draw lightly first, then darker as you build up layers. Draw quickly! Once you start drawing don’t stop. Catch the FORM not the details. No erasing! It breaks focus and wastes time.
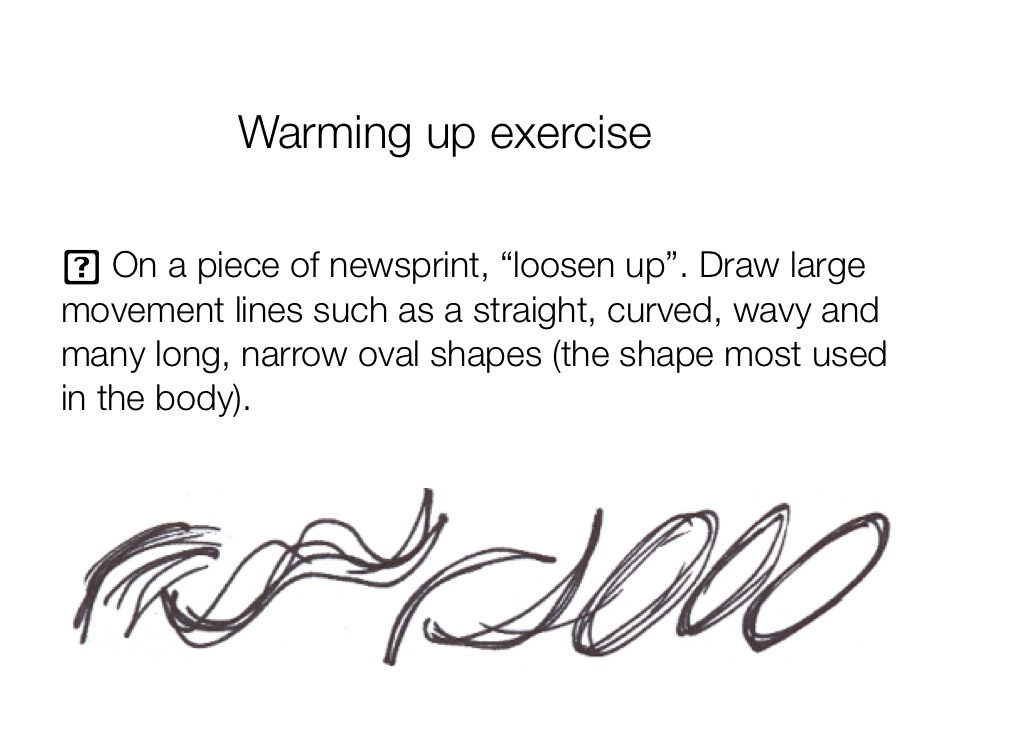
Warming up exercise
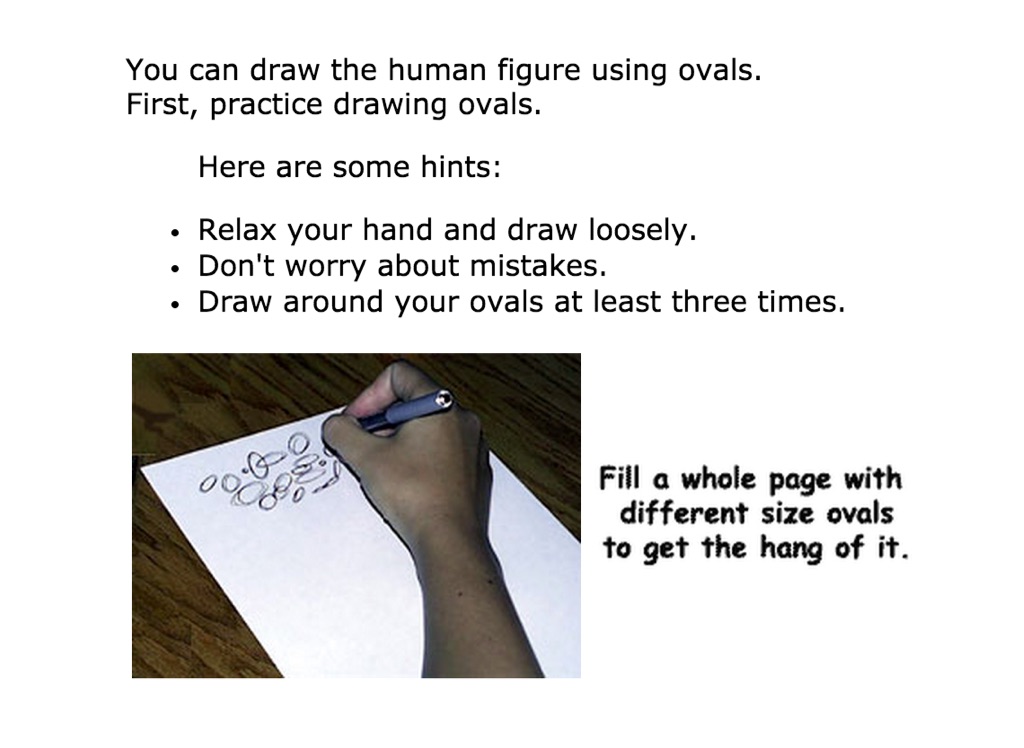
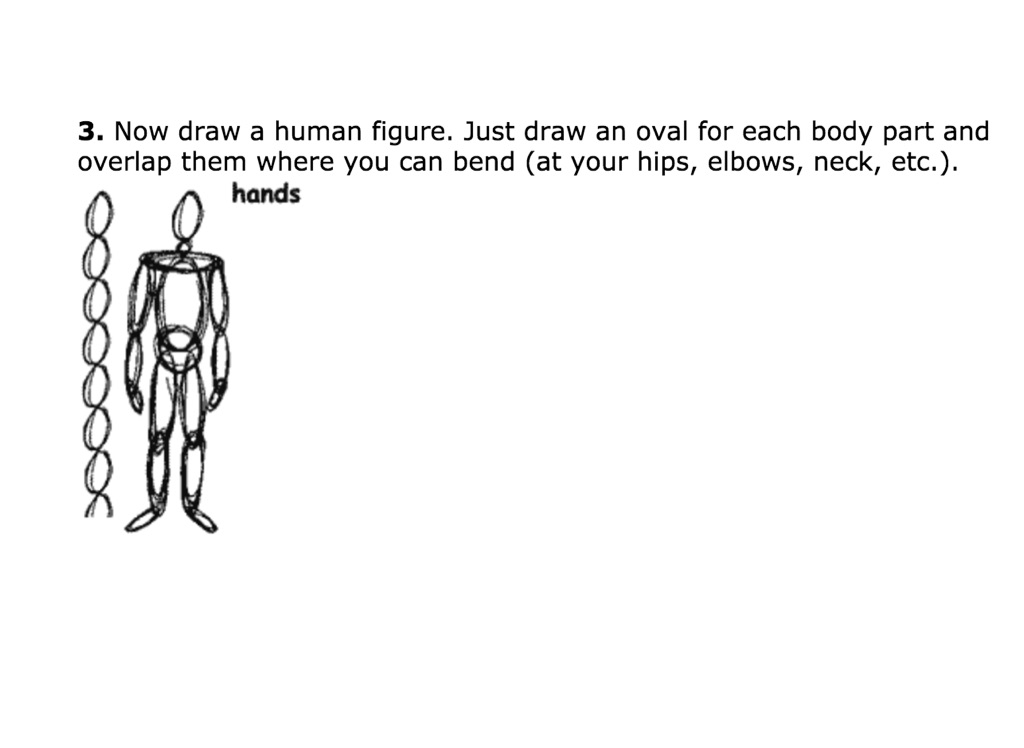
On a piece of newsprint, “loosen up”. Draw large movement lines such as a straight, curved, wavy and many long, narrow oval shapes (the shape most used in the body).
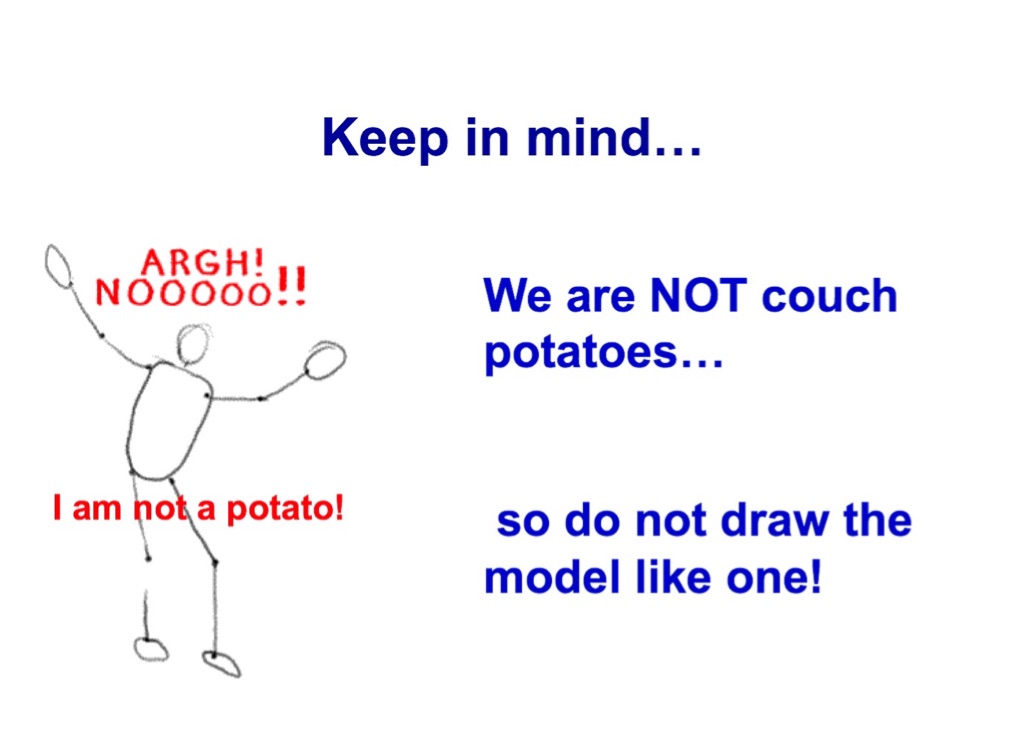
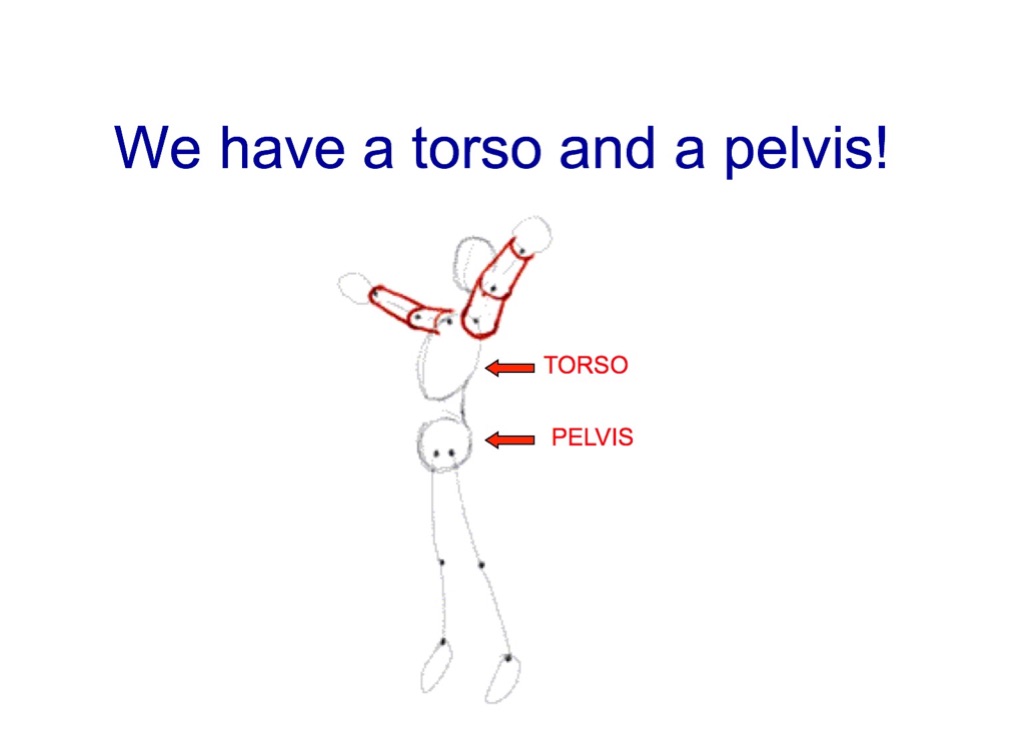
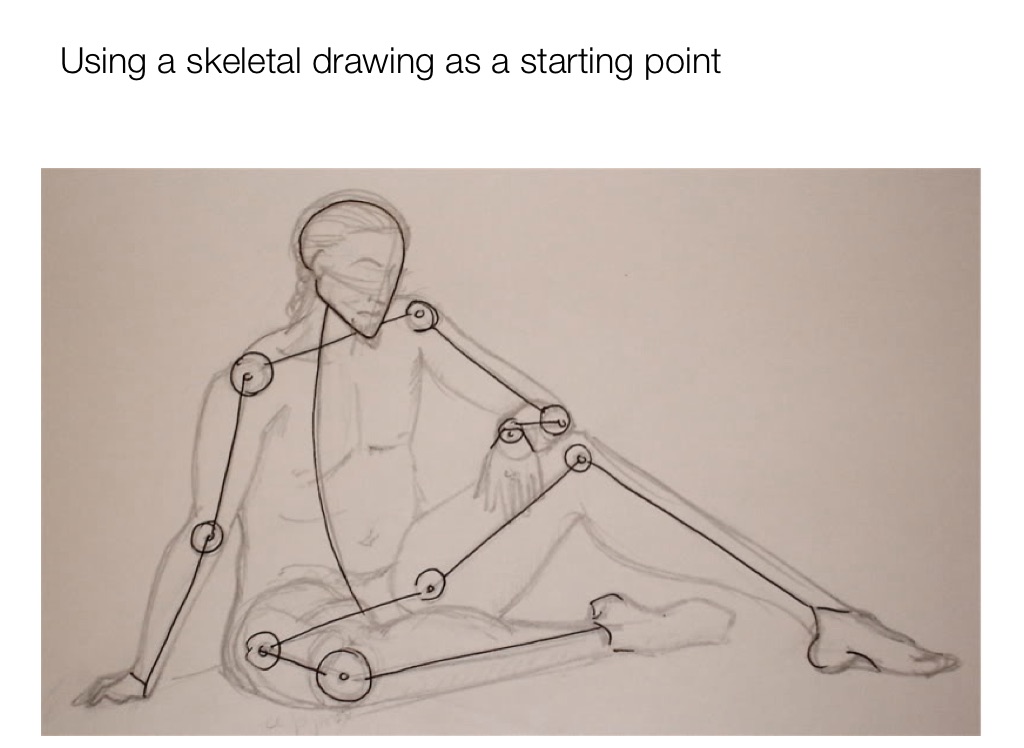
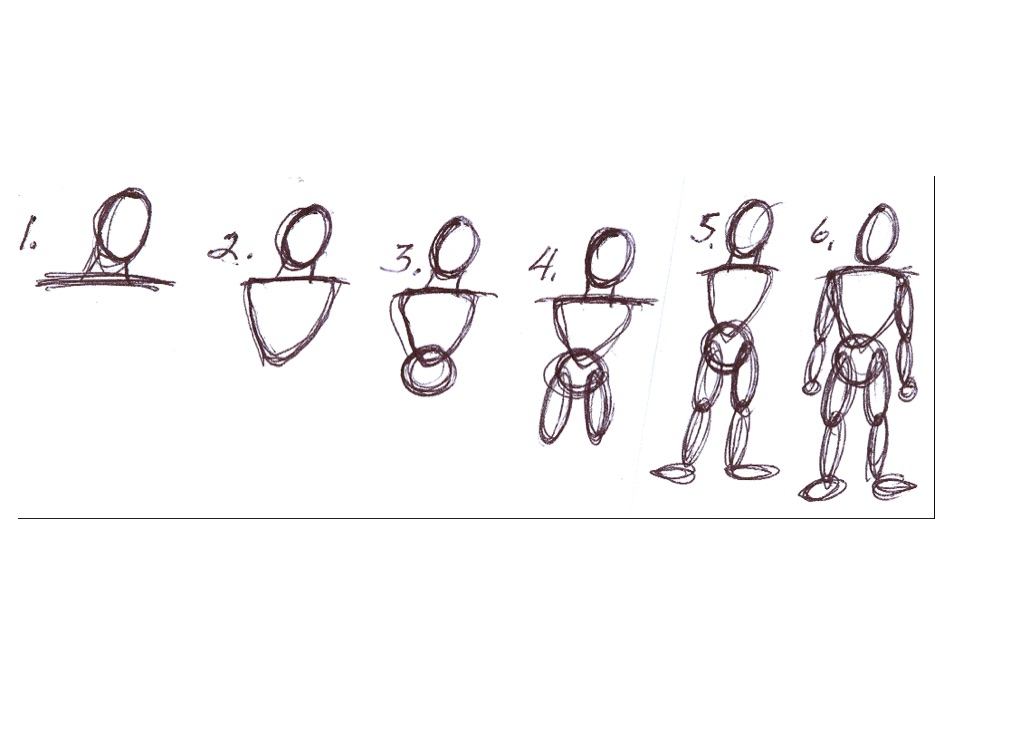
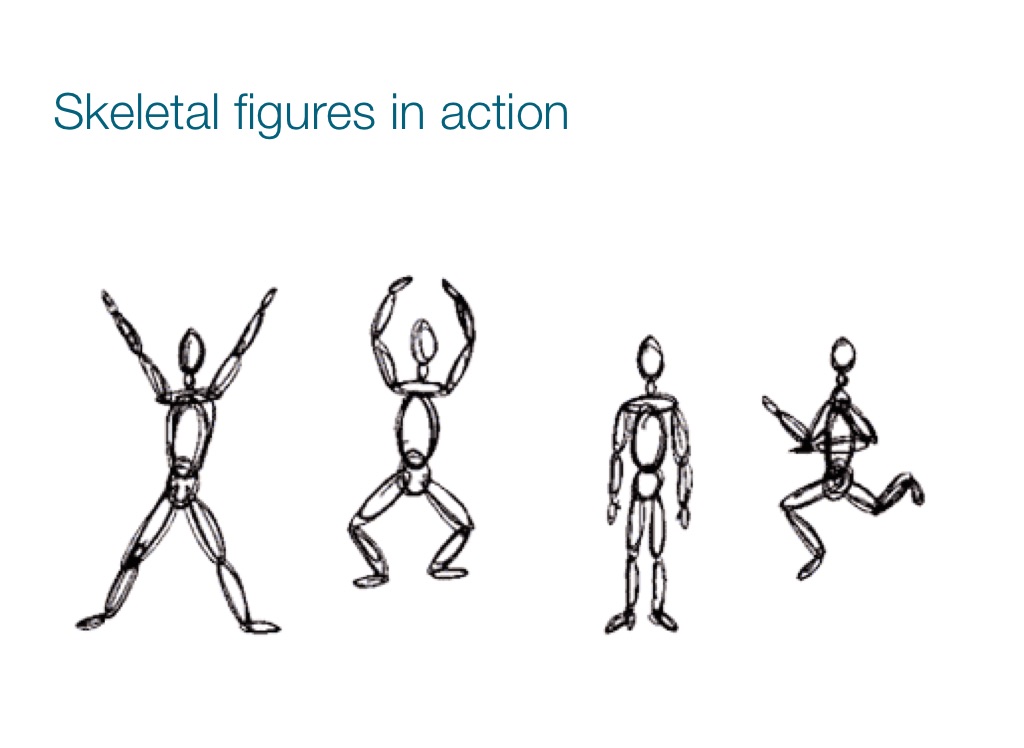
Using a skeletal drawing as a starting point
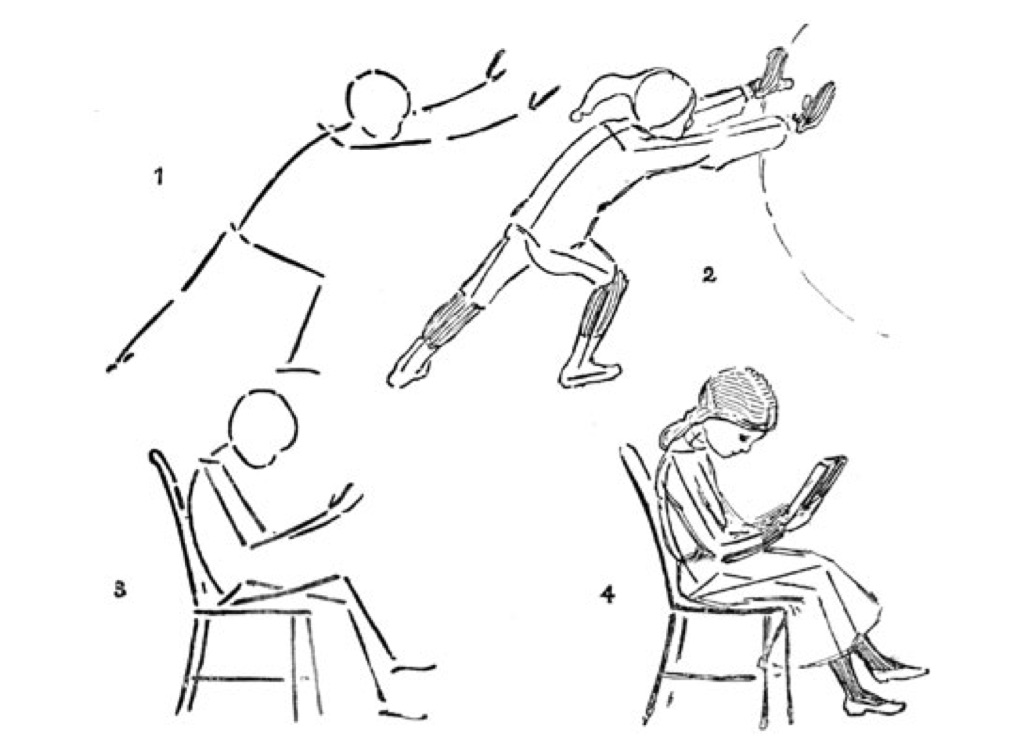
Skeletal figures in action
Let’s look at three different types of figure drawing:
Gesture Contour Volume
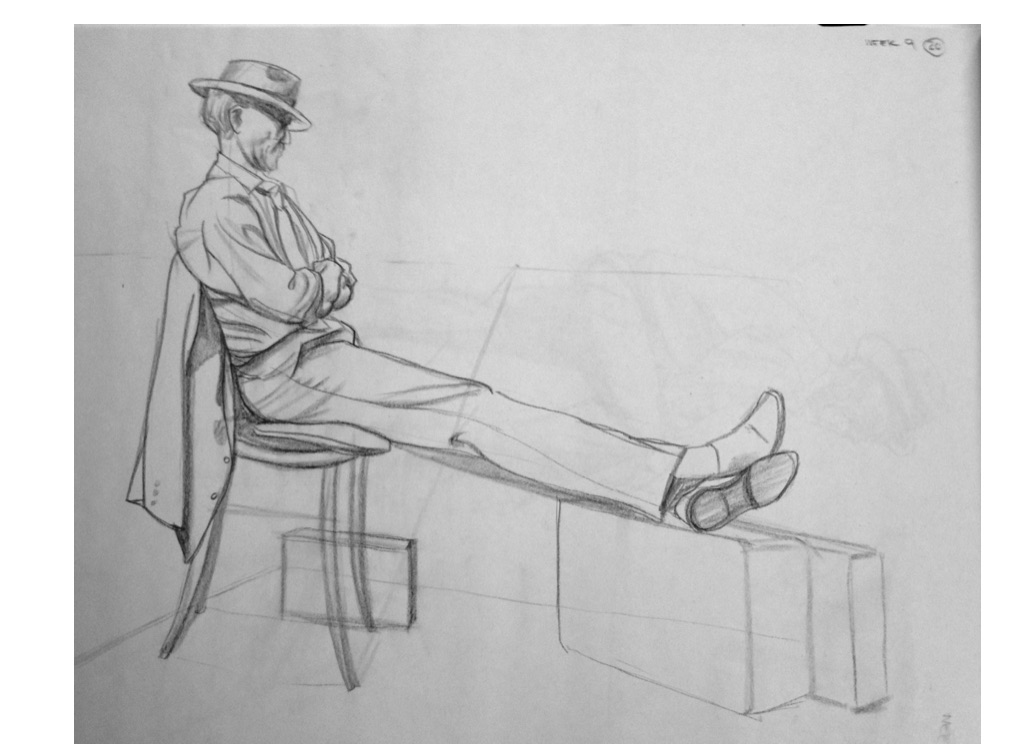
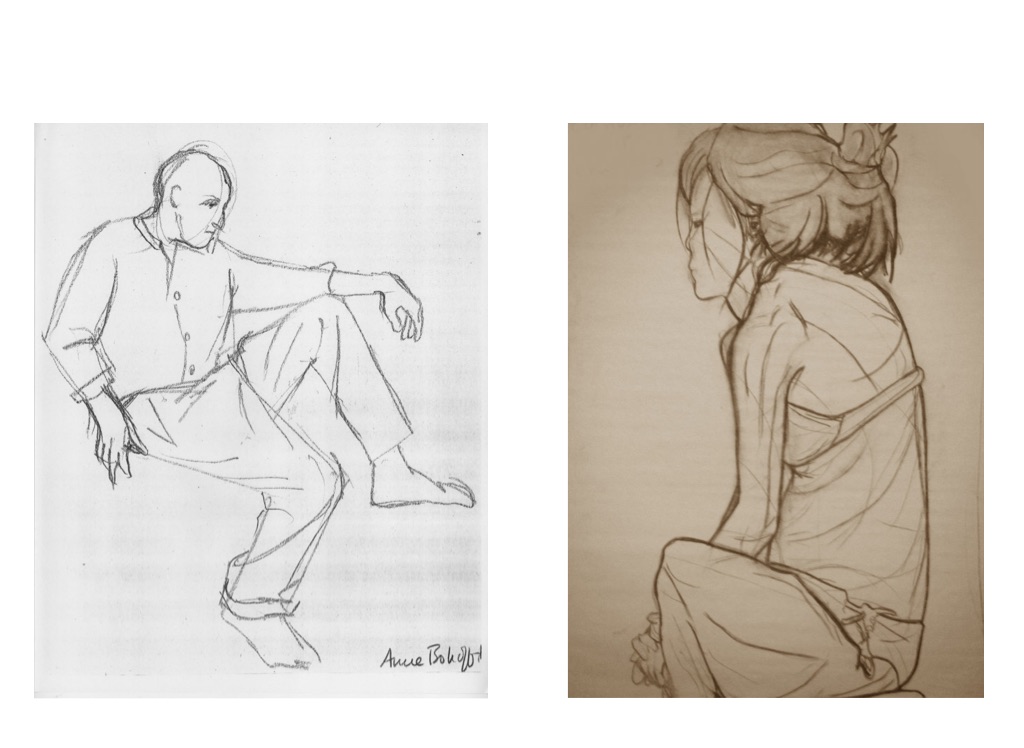
What is Gesture Drawing?
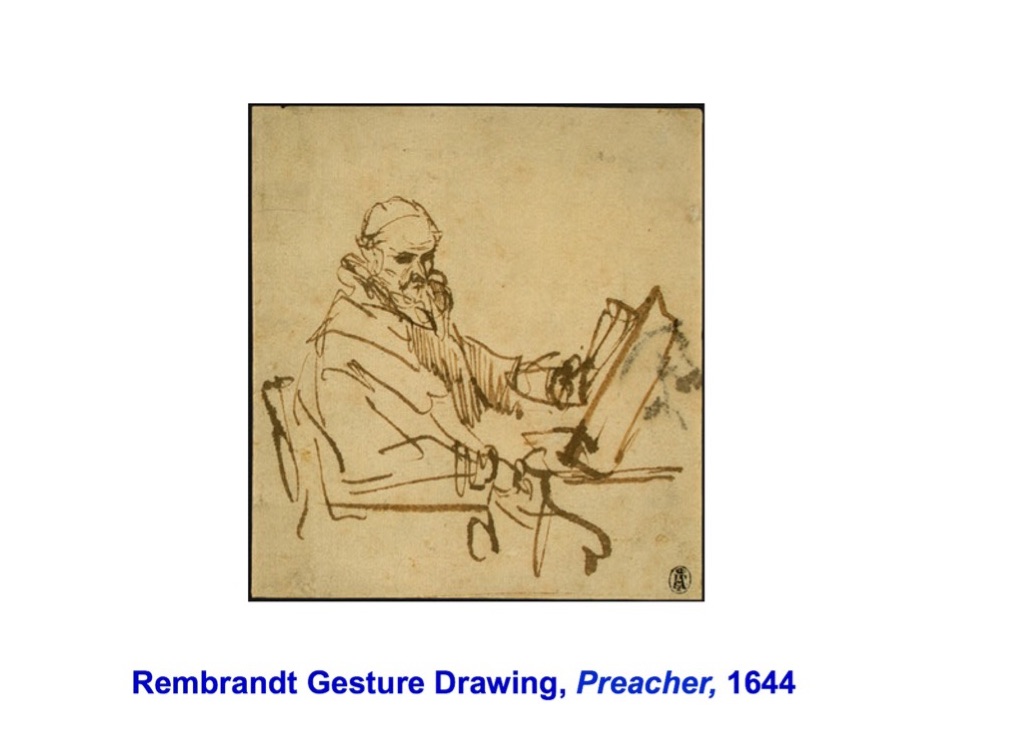
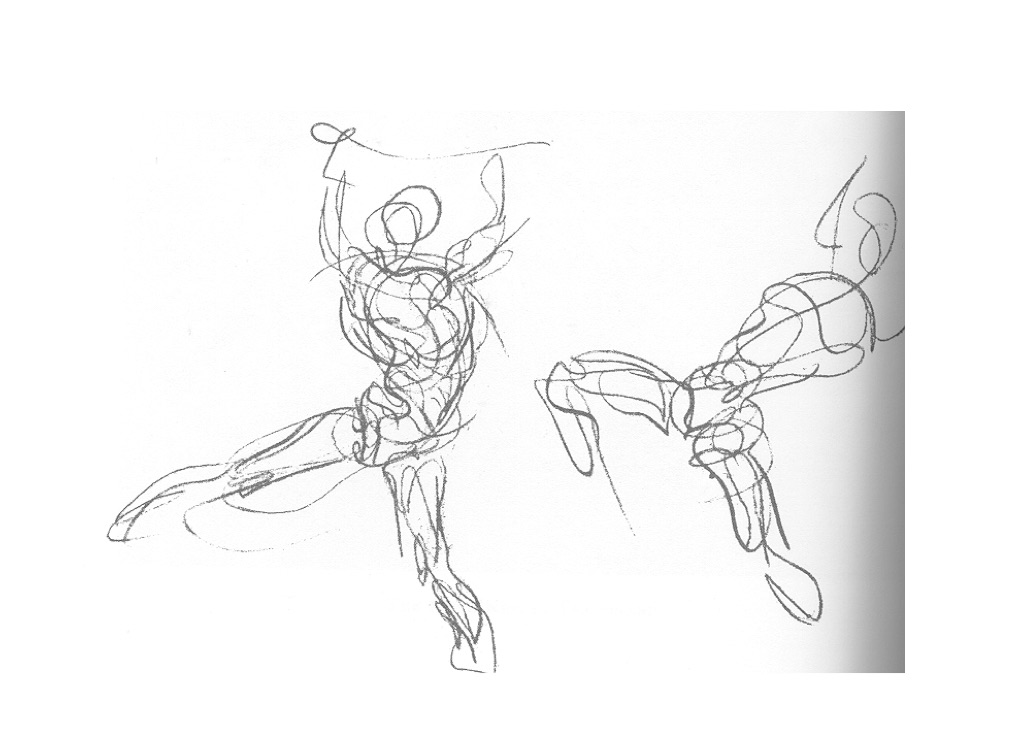
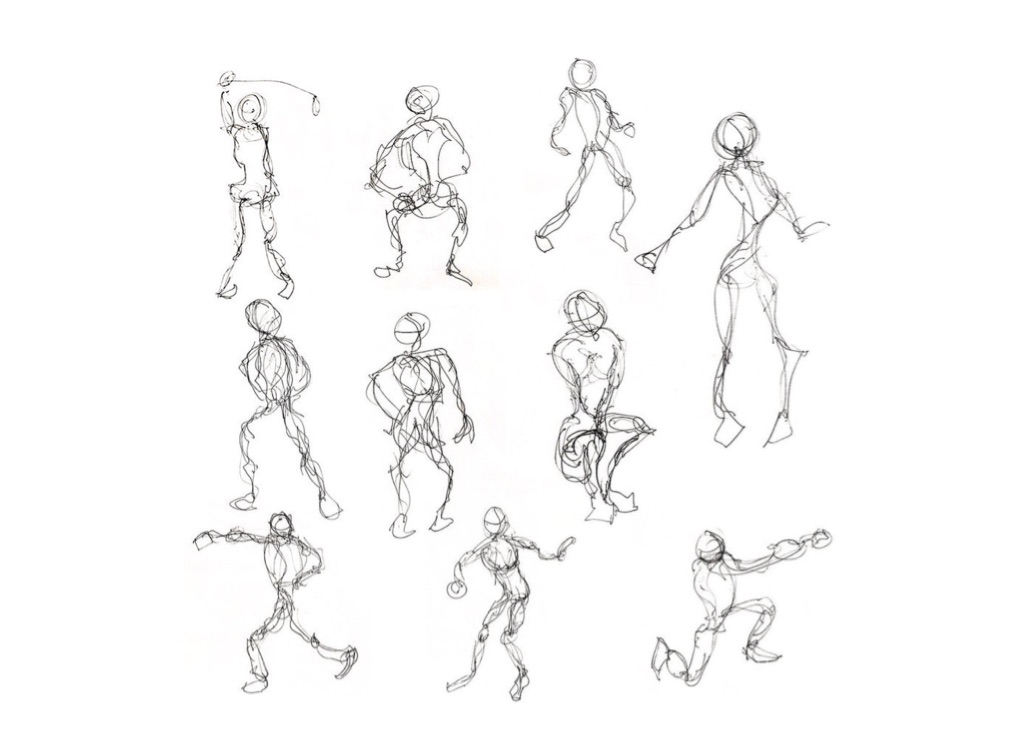
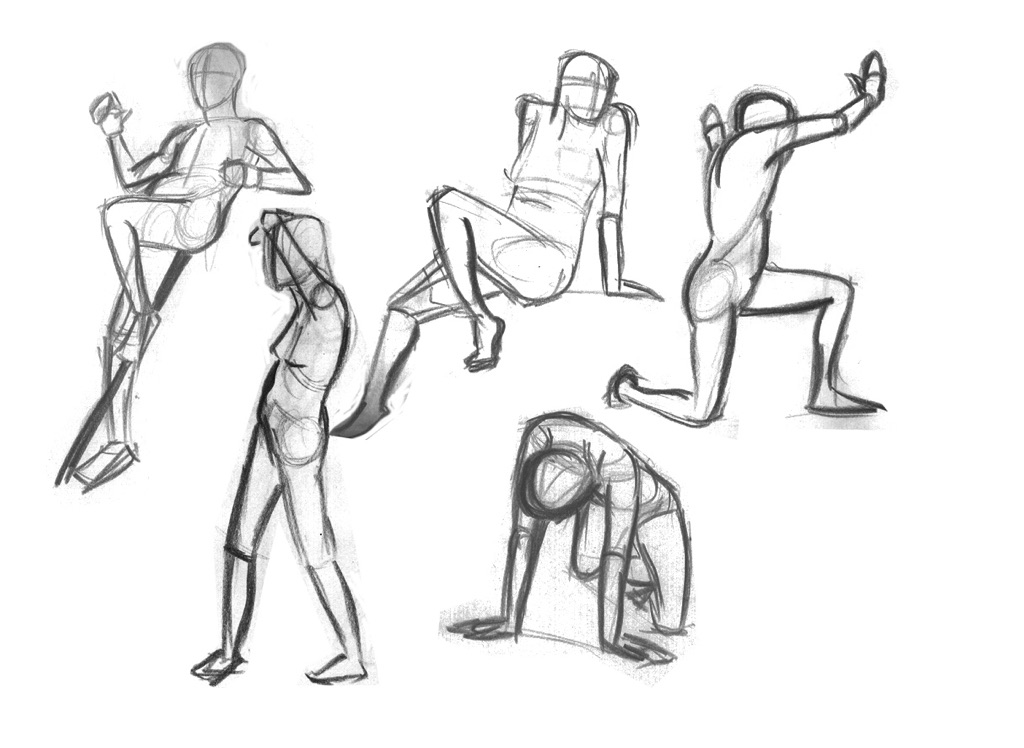
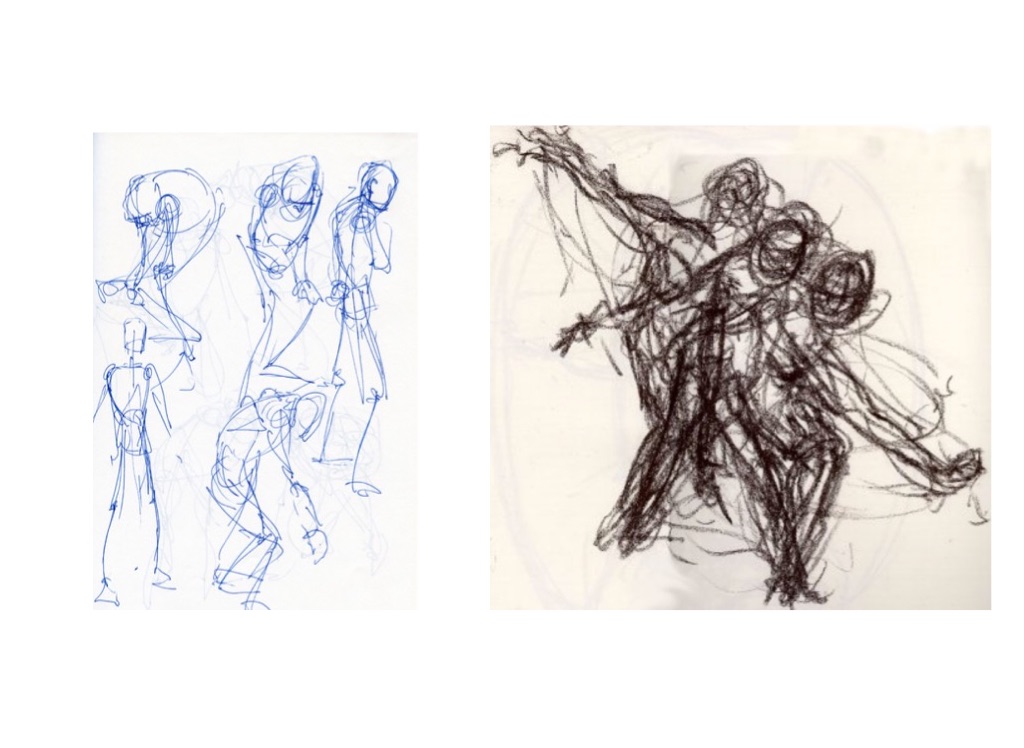
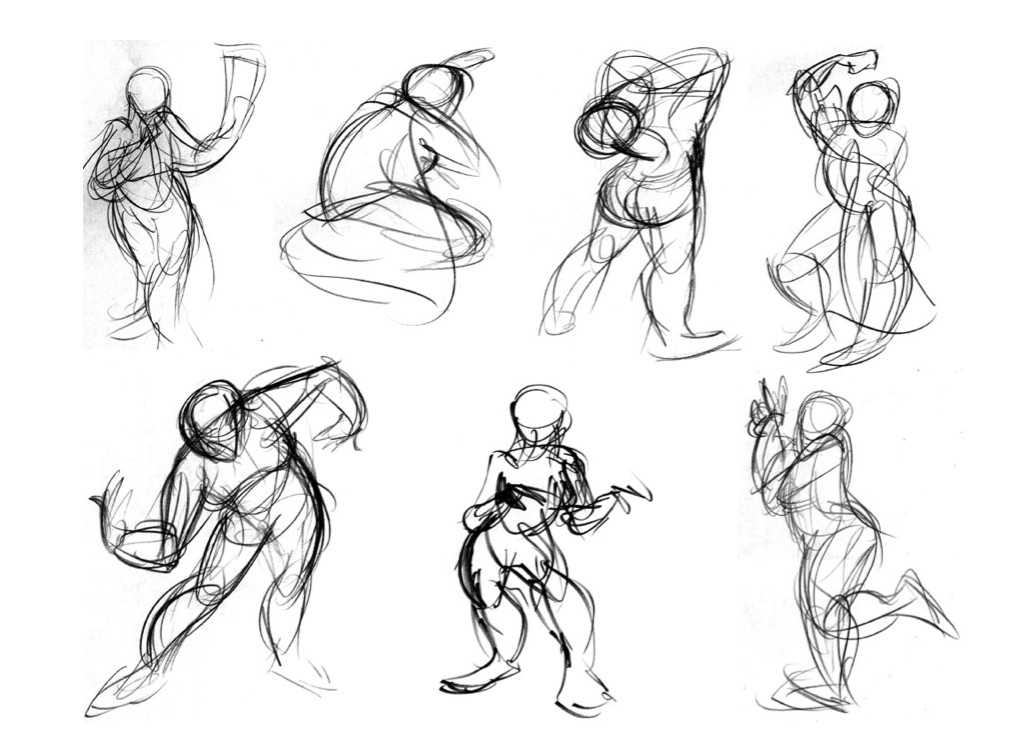
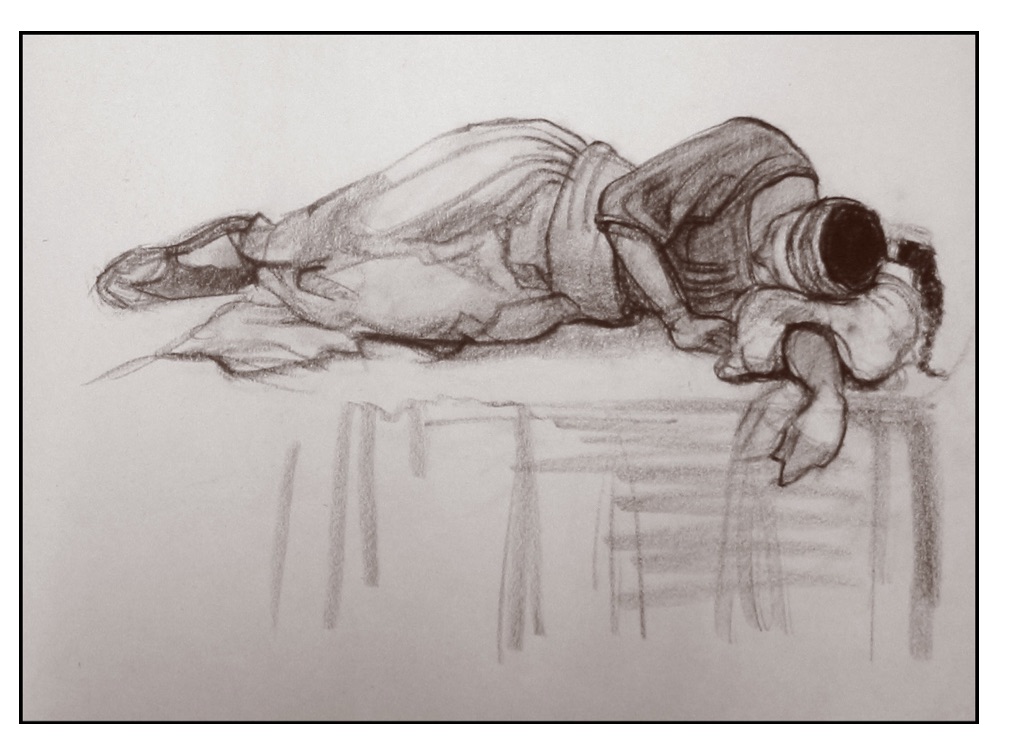
Purpose: to capture the pose of the model in the quickest, most economical manner. Sometimes called an action drawing; the action the figure is performing. Limit looking at your paper as much as possible and use the whole page – DRAW BIG. Use a continuous line and DO NOT ERASE if you make a mistake – just IGNORE it! Don’t be concerned with details.
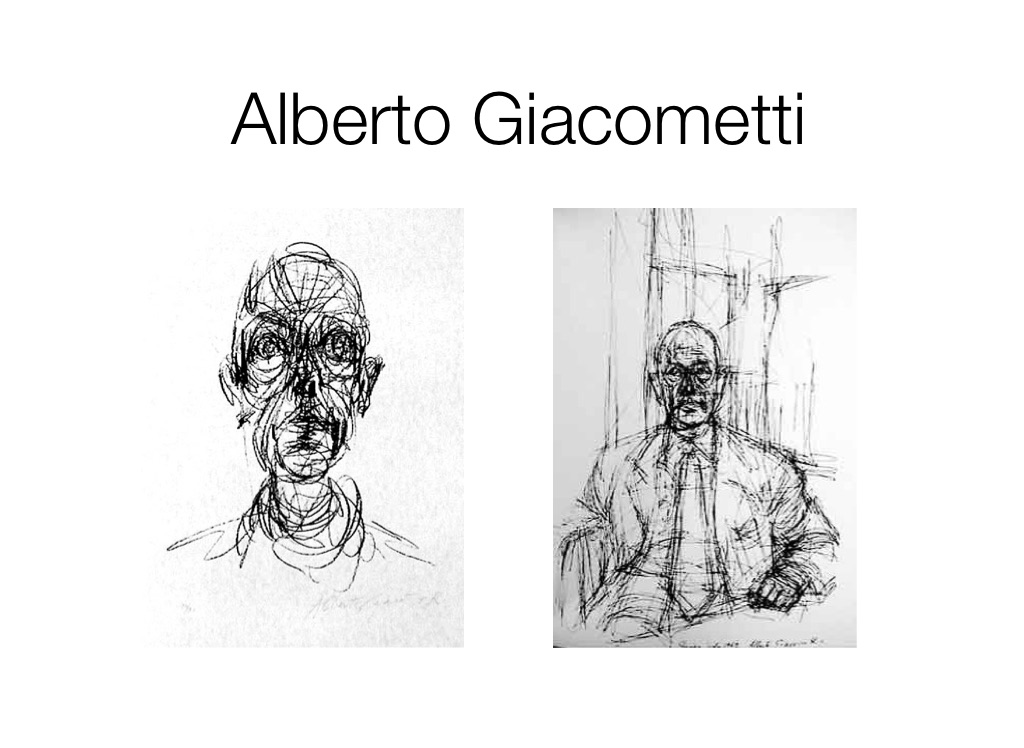
Alberto Giacometti
Alberto Giacometti
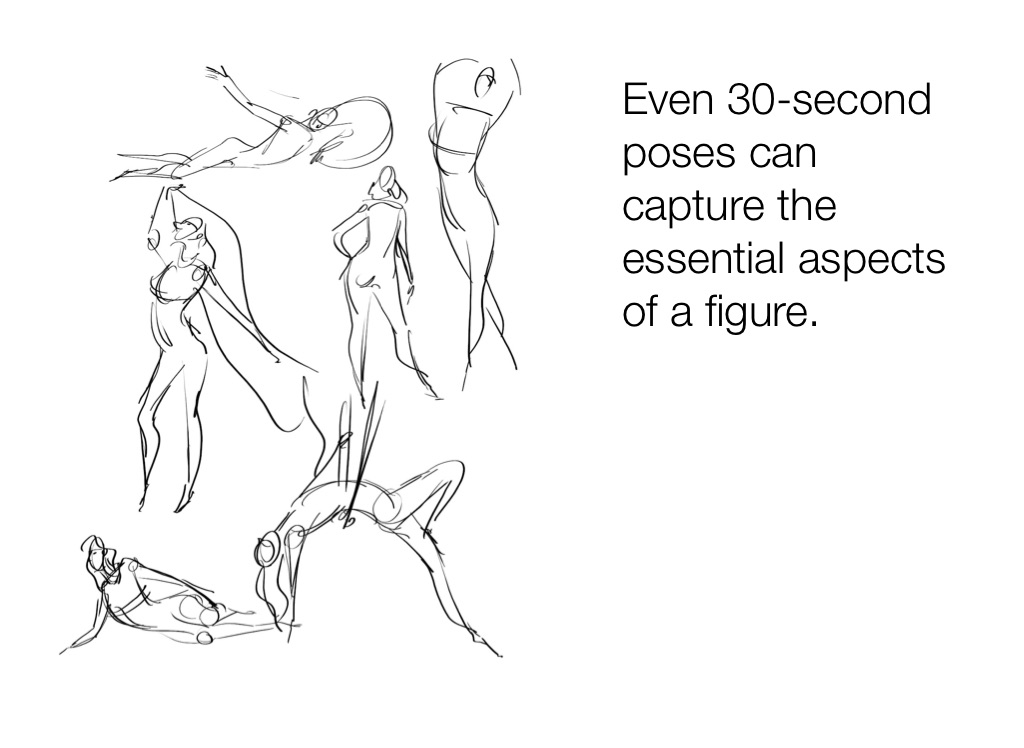
Even 30-second poses can capture the essential aspects of a figure.
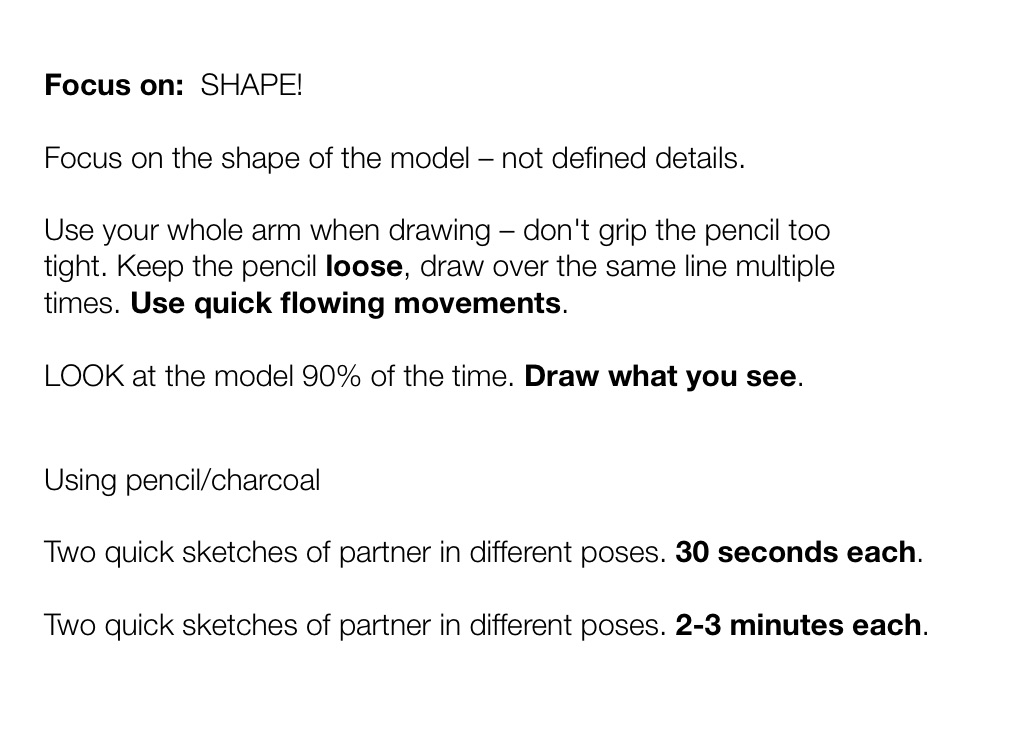
Focus on: SHAPE! Focus on the shape of the model – not defined details. Use your whole arm when drawing – don't grip the pencil too tight. Keep the pencil loose, draw over the same line multiple times. Use quick flowing movements. LOOK at the model 90% of the time. Draw what you see.
Using pencil/charcoal Two quick sketches of partner in different poses. 30 seconds each. Two quick sketches of partner in different poses. 2-3 minutes each.
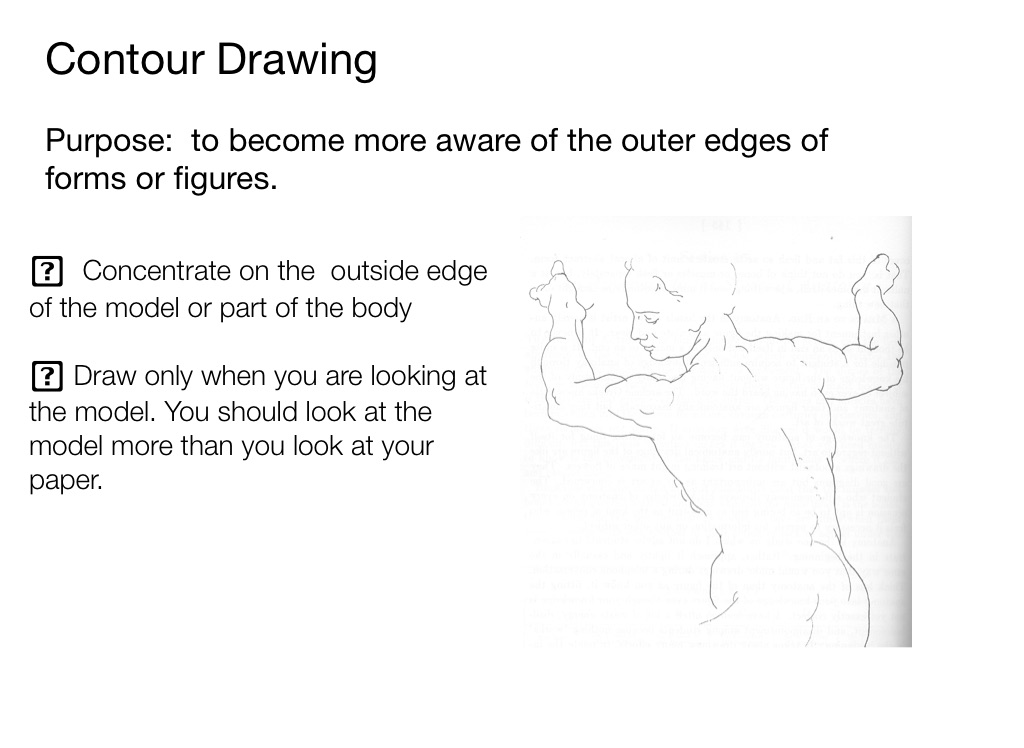
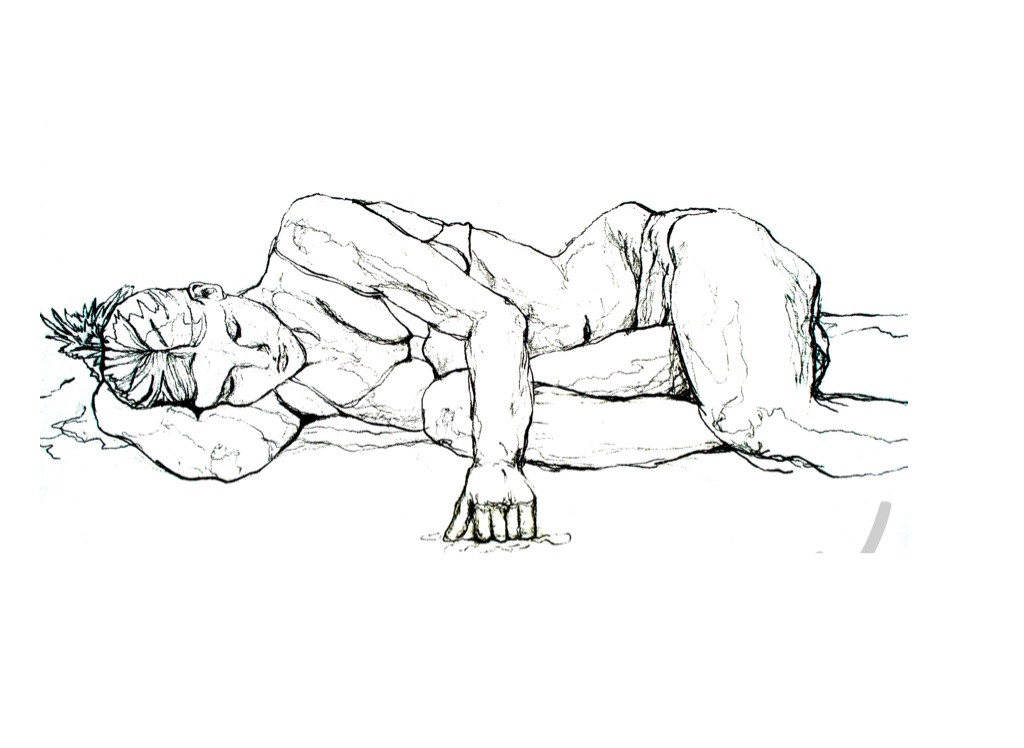
Contour Drawing
Purpose: to become more aware of the outer edges of forms or figures.
Concentrate on the outside edge of the model or part of the body Draw only when you are looking at the model. You should look at the model more than you look at your paper.
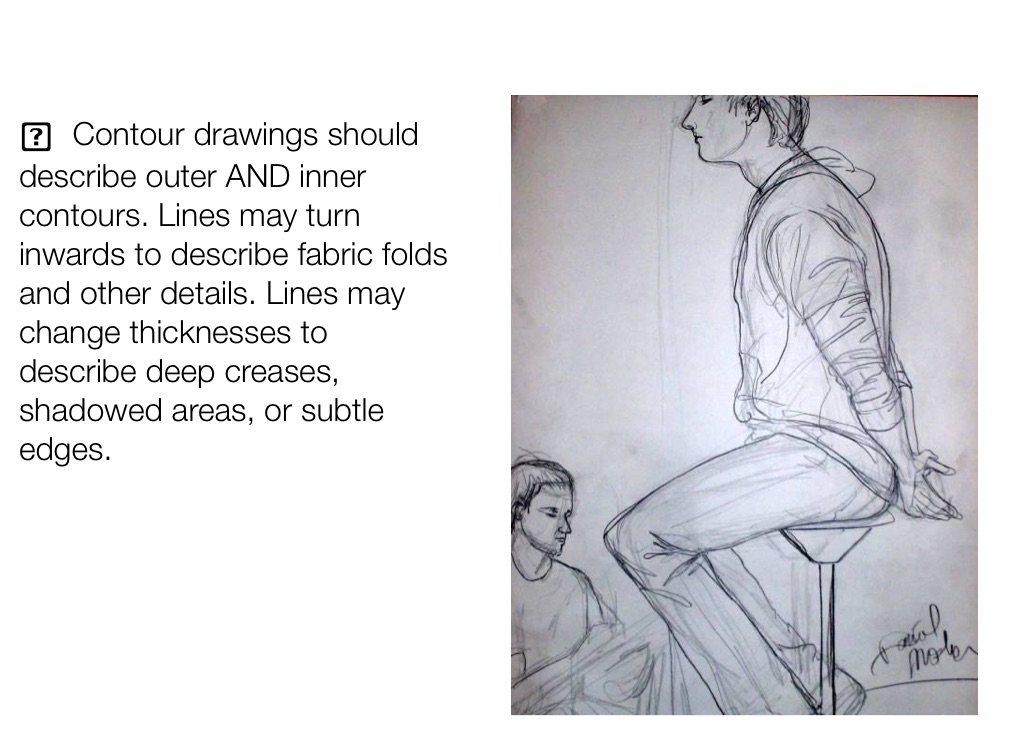
Contour drawings should describe outer AND inner contours. Lines may turn inwards to describe fabric folds and other details. Lines may change thicknesses to describe deep creases, shadowed areas, or subtle edges.
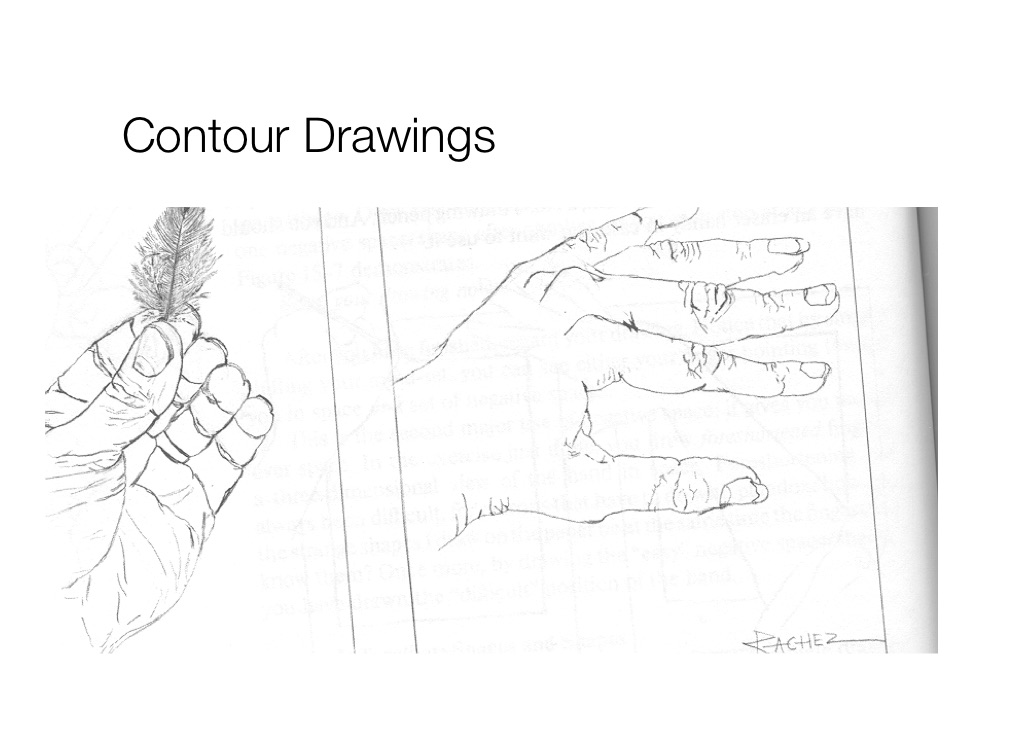
Contour Drawings
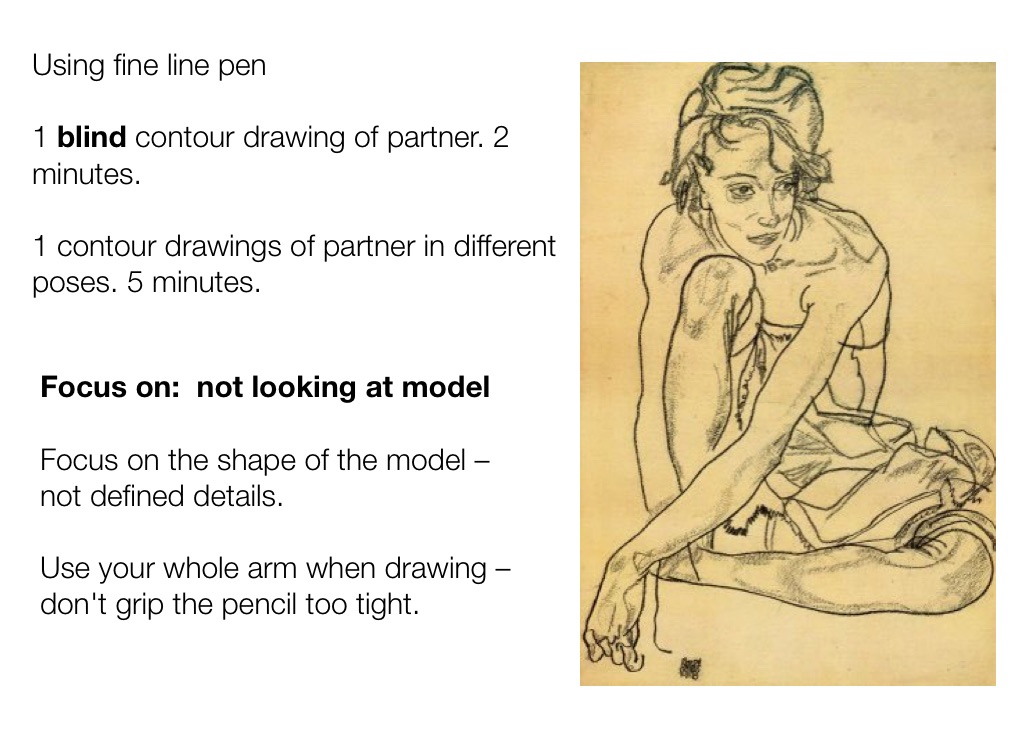
Using fine line pen 1 blind contour drawing of partner. 2 minutes. 1 contour drawings of partner in different poses. 5 minutes.
Focus on: not looking at model Focus on the shape of the model – not defined details. Use your whole arm when drawing – don't grip the pencil too tight.
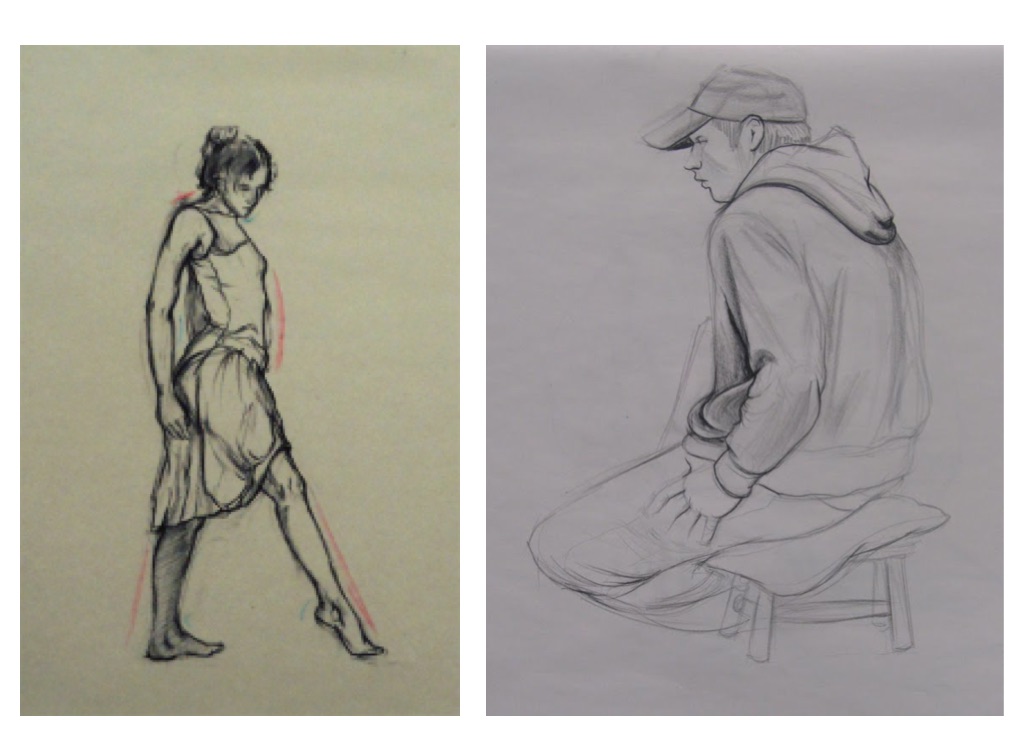
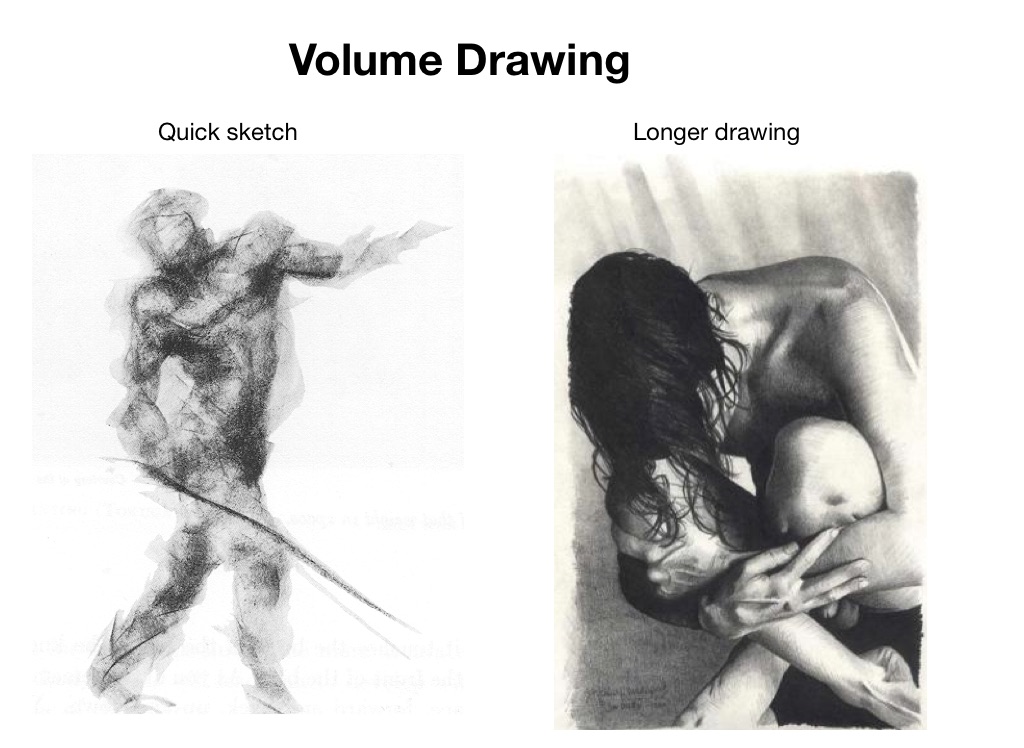
Volume Drawing
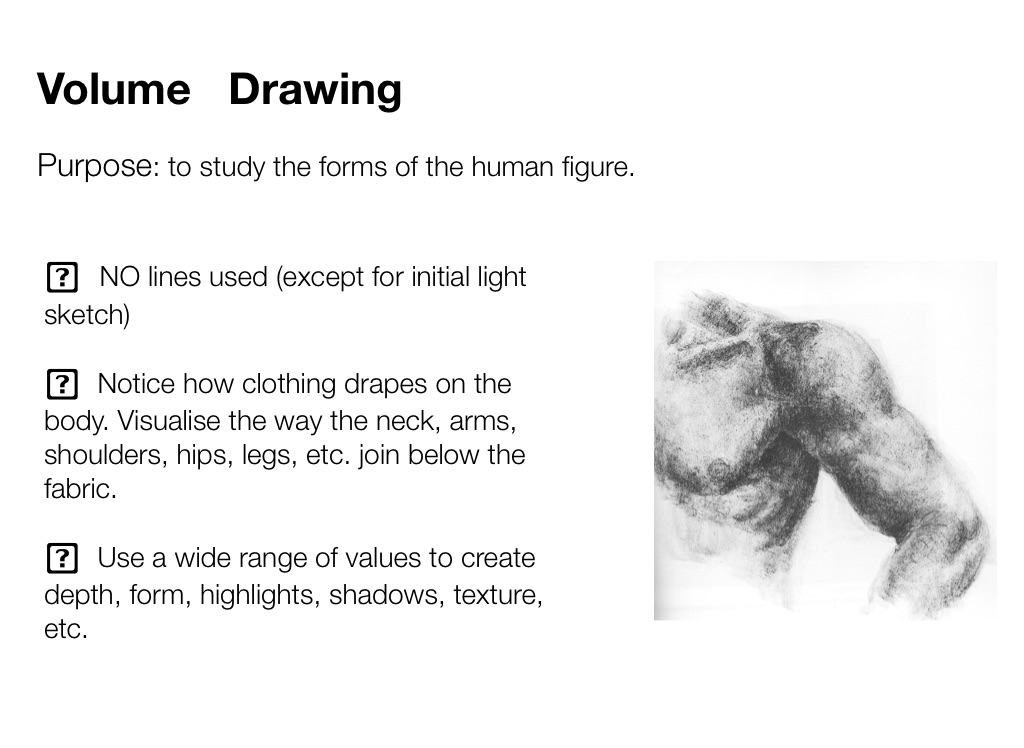
Purpose: to study the forms of the human figure.
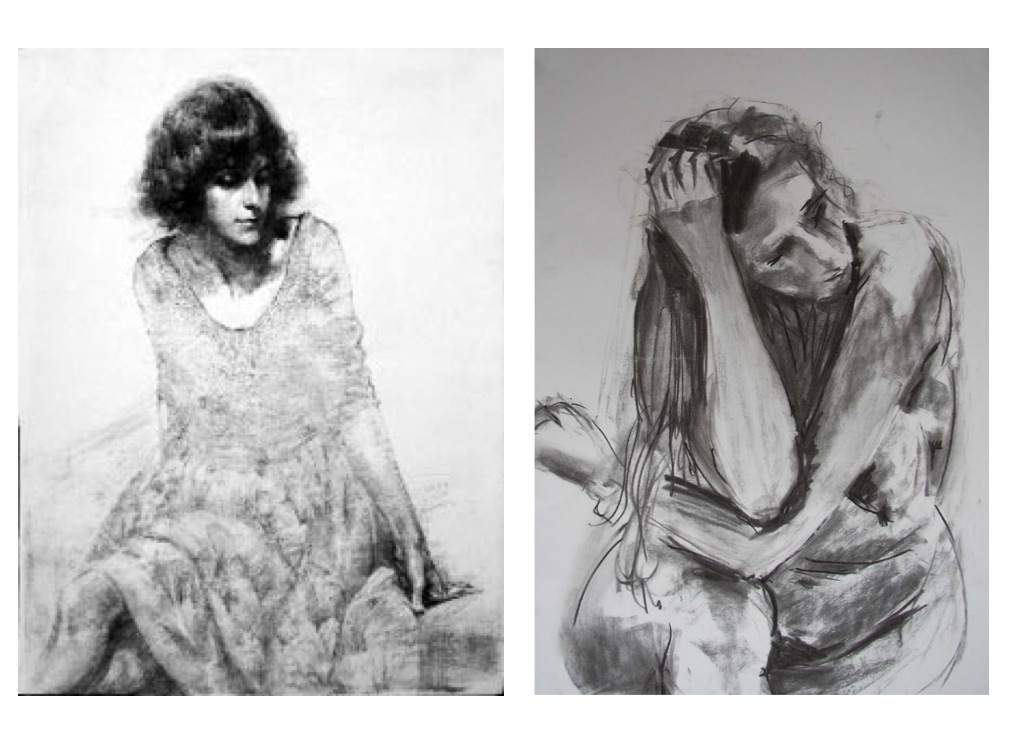
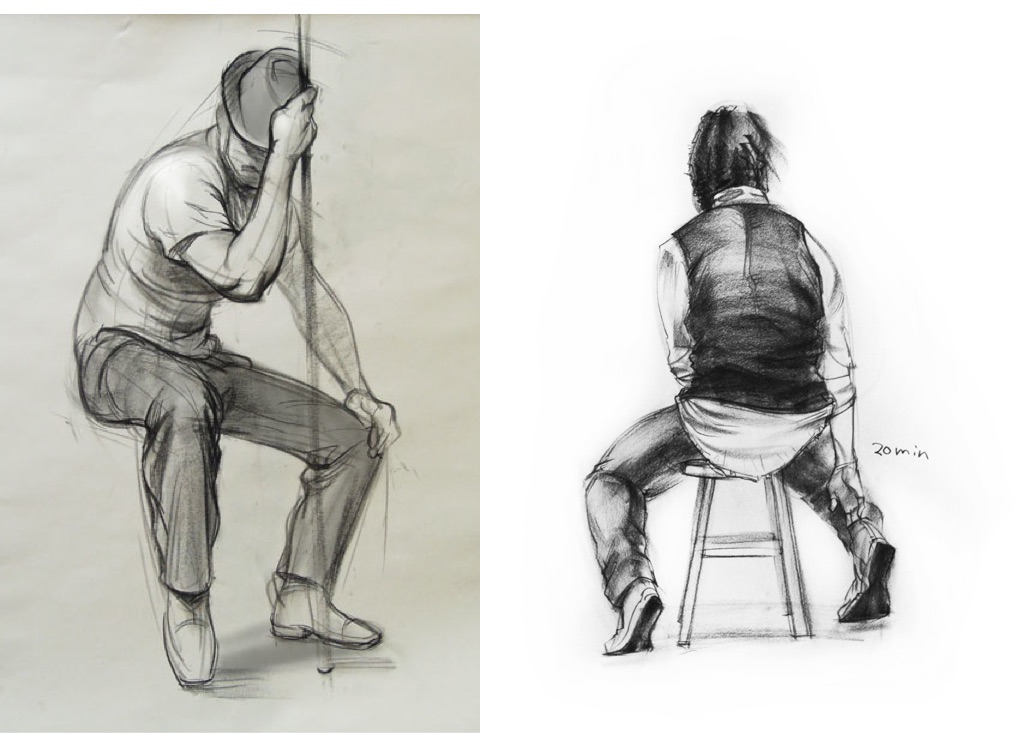
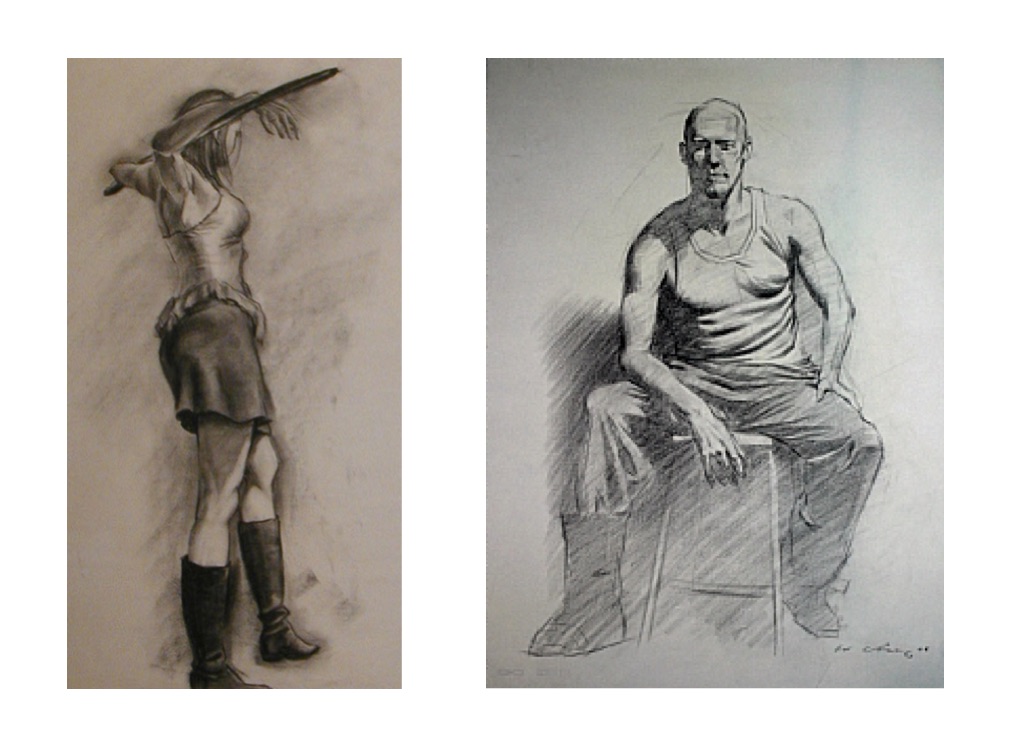
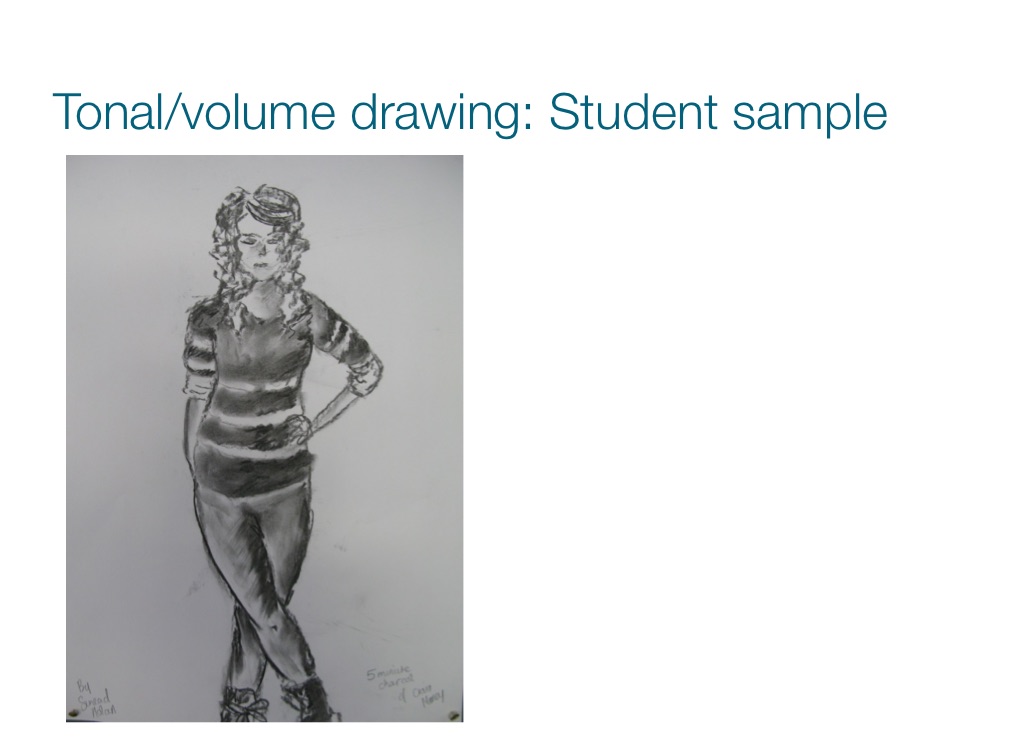
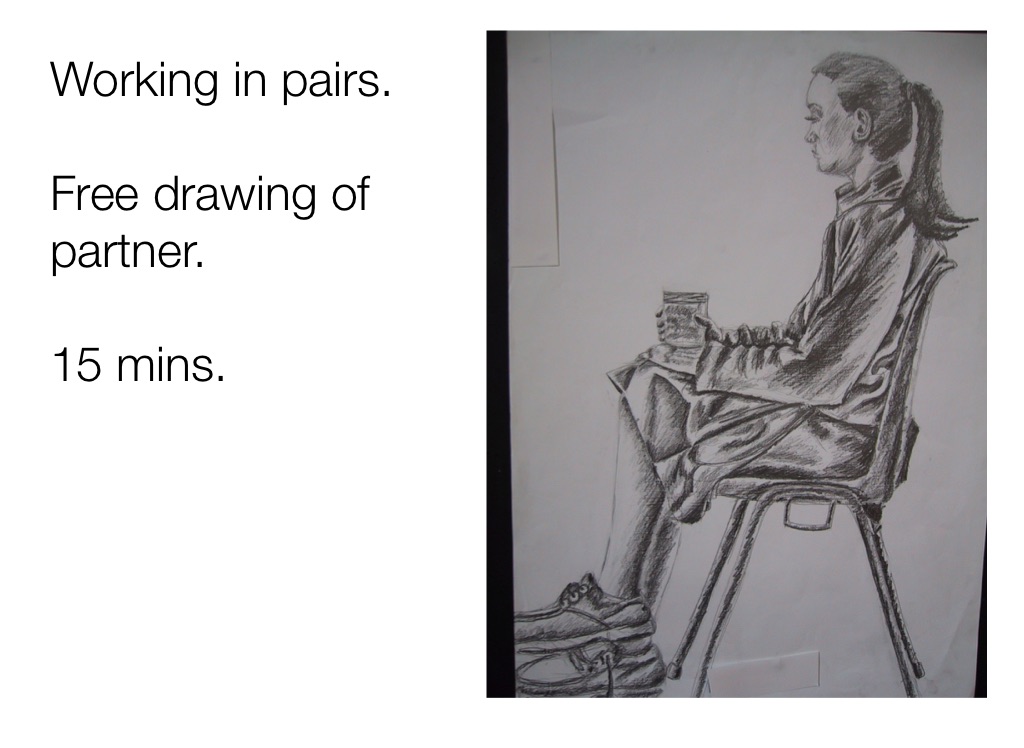
NO lines used (except for initial light sketch) Notice how clothing drapes on the body. Visualise the way the neck, arms, shoulders, hips, legs, etc. join below the fabric. Use a wide range of values to create depth, form, highlights, shadows, texture, etc.
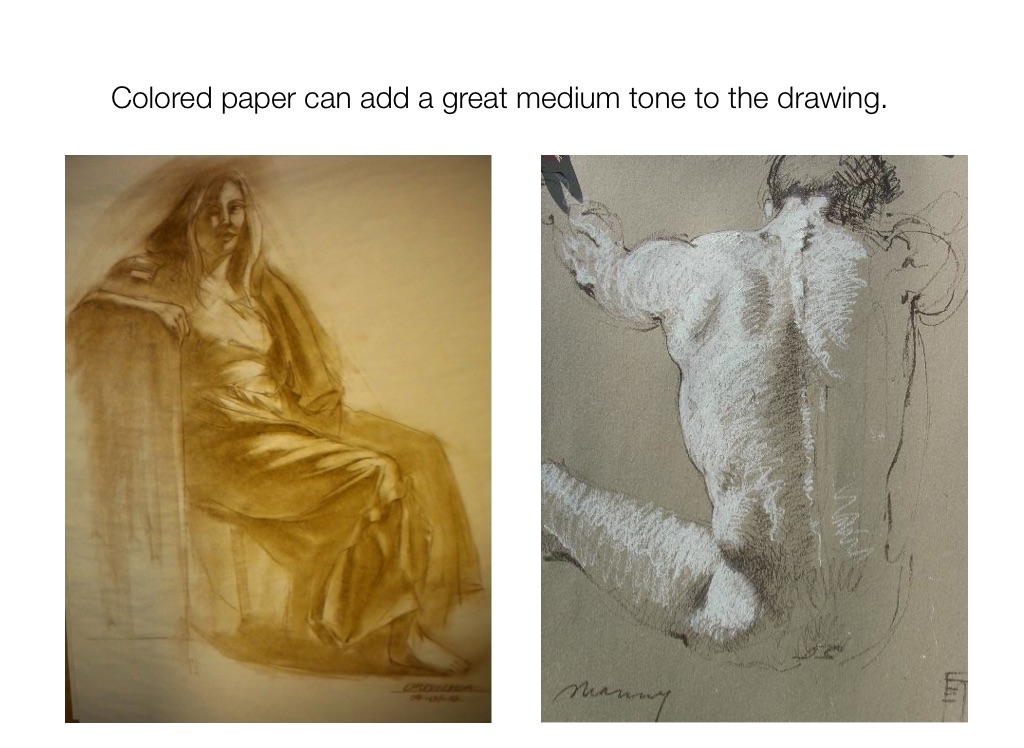
Colored paper can add a great medium tone to the drawing.
Tonal/volume drawing: Student sample
Volume Drawing
Quick sketch
Longer drawing
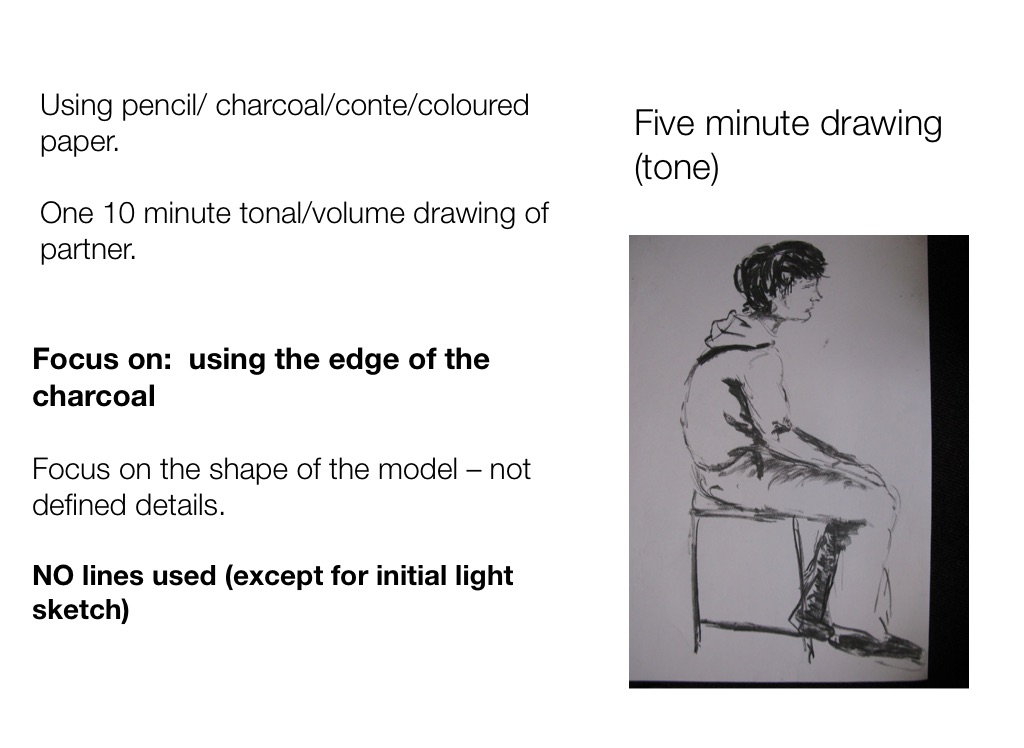
Using pencil/ charcoal/conte/coloured paper. One 10 minute tonal/volume drawing of partner.
Five minute drawing (tone)
Focus on: using the edge of the charcoal Focus on the shape of the model – not defined details. NO lines used (except for initial light sketch)
Working in pairs. Free drawing of partner. 15 mins.
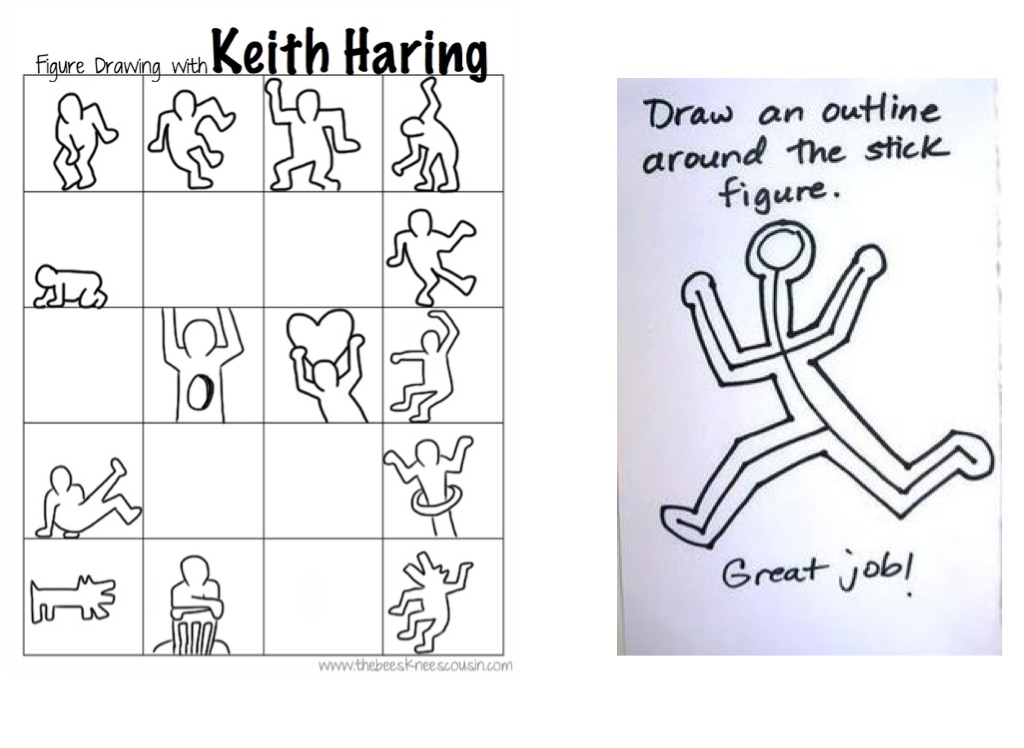
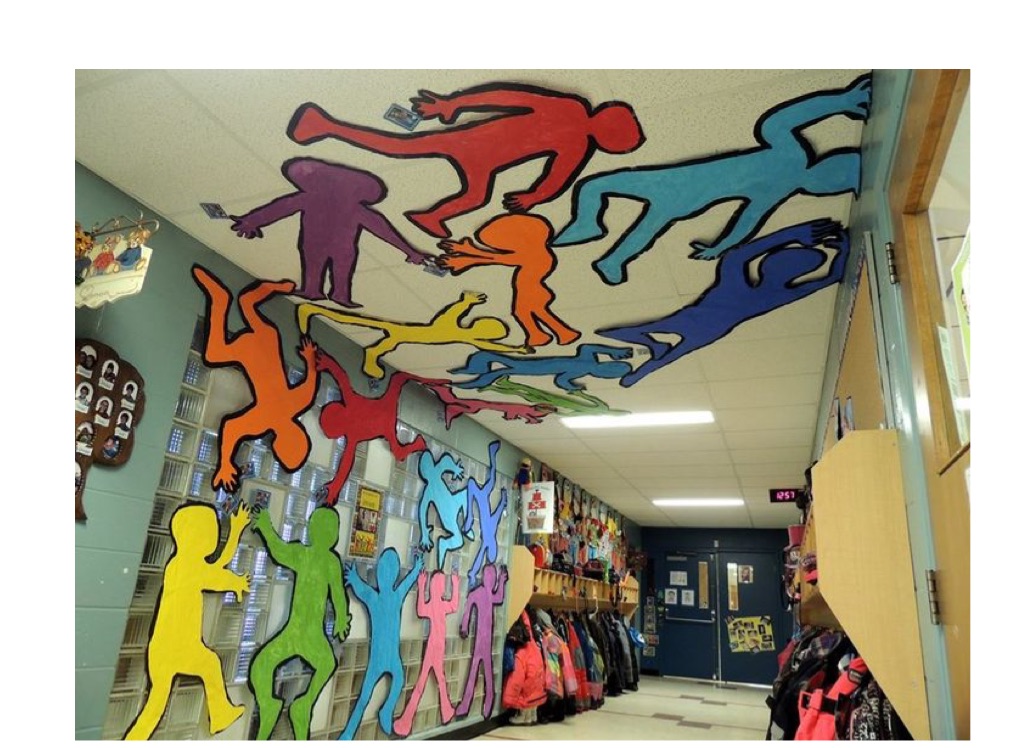
Cut-outs of figures in action
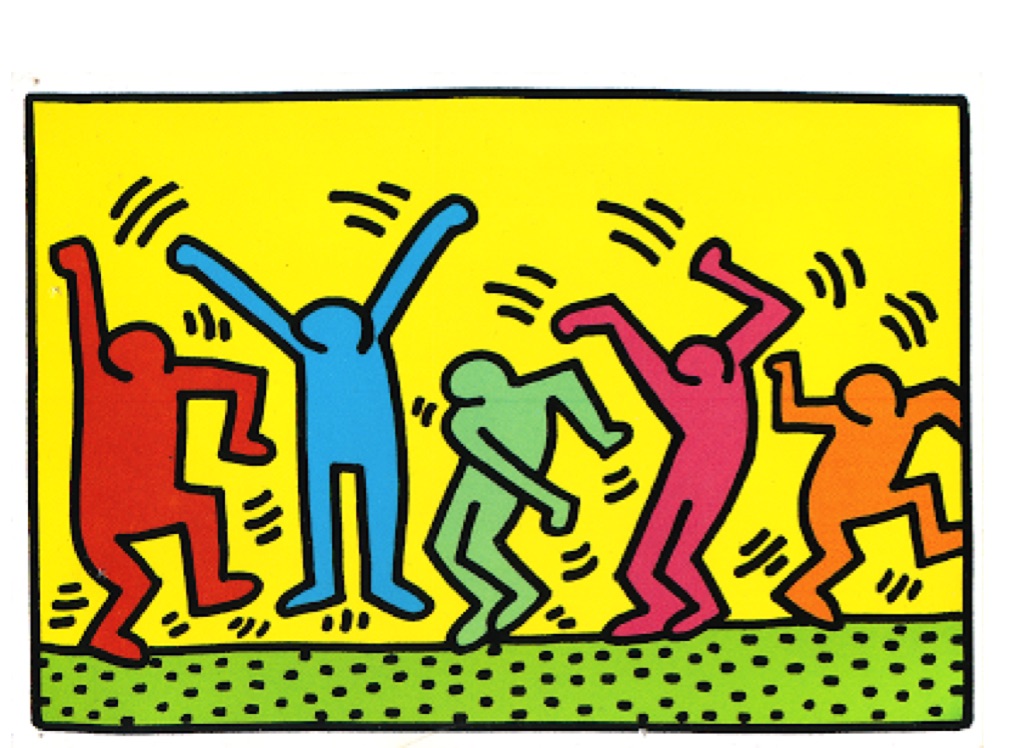
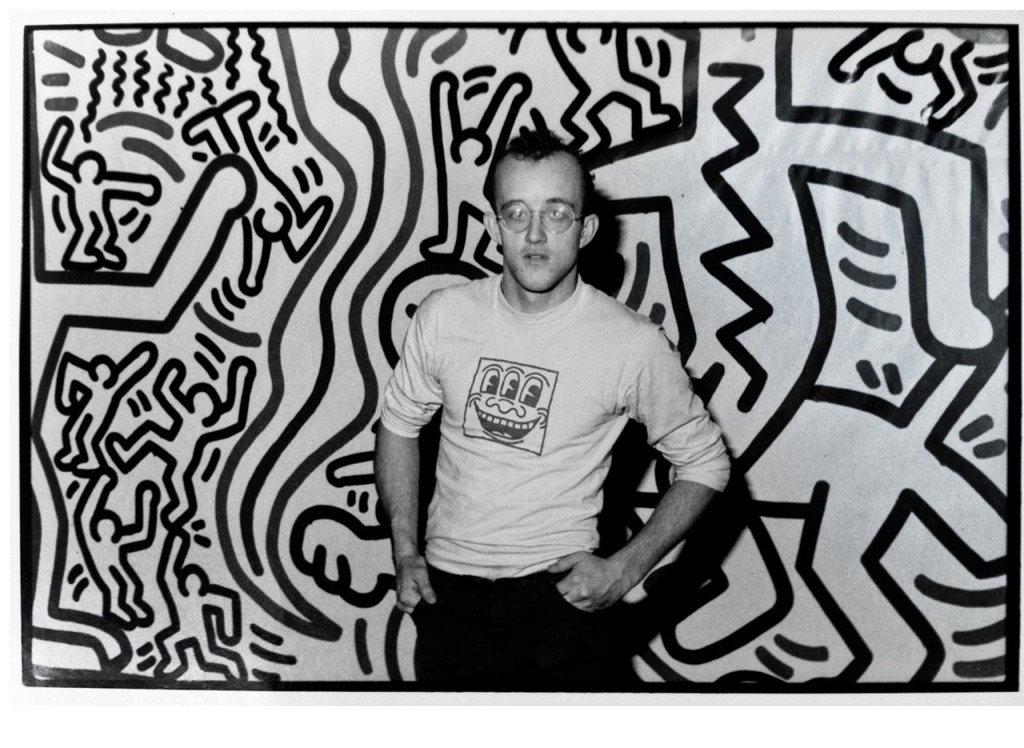
Pop-artist Keith Haring
American artist and social activist whose work responded to the New York City street culture of the 1980s
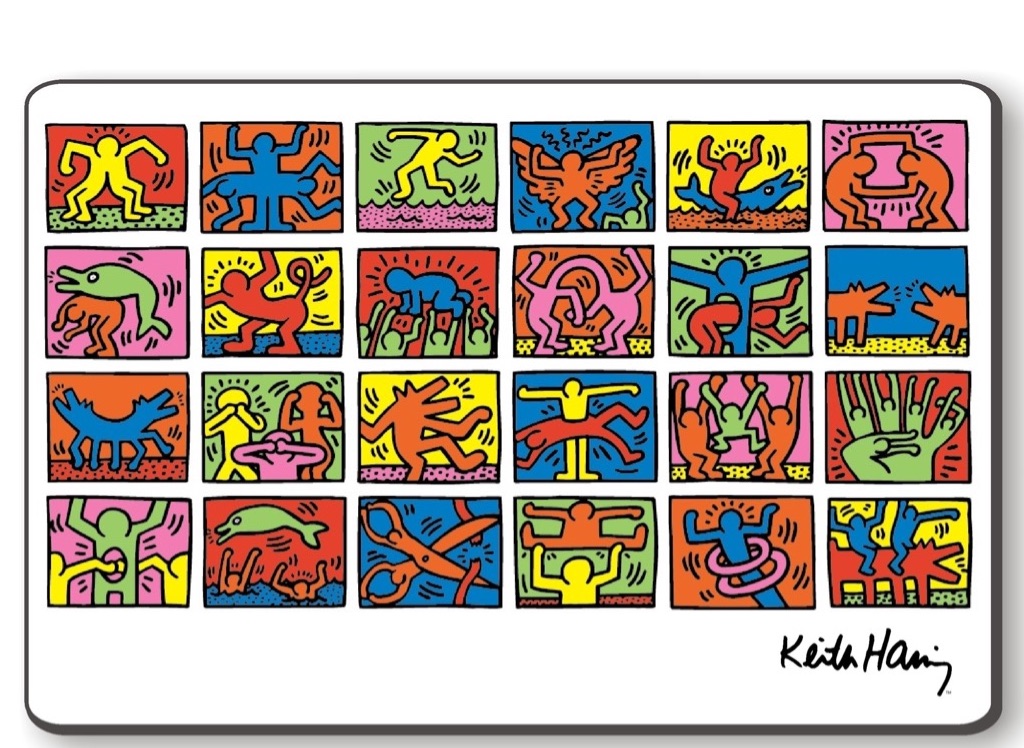
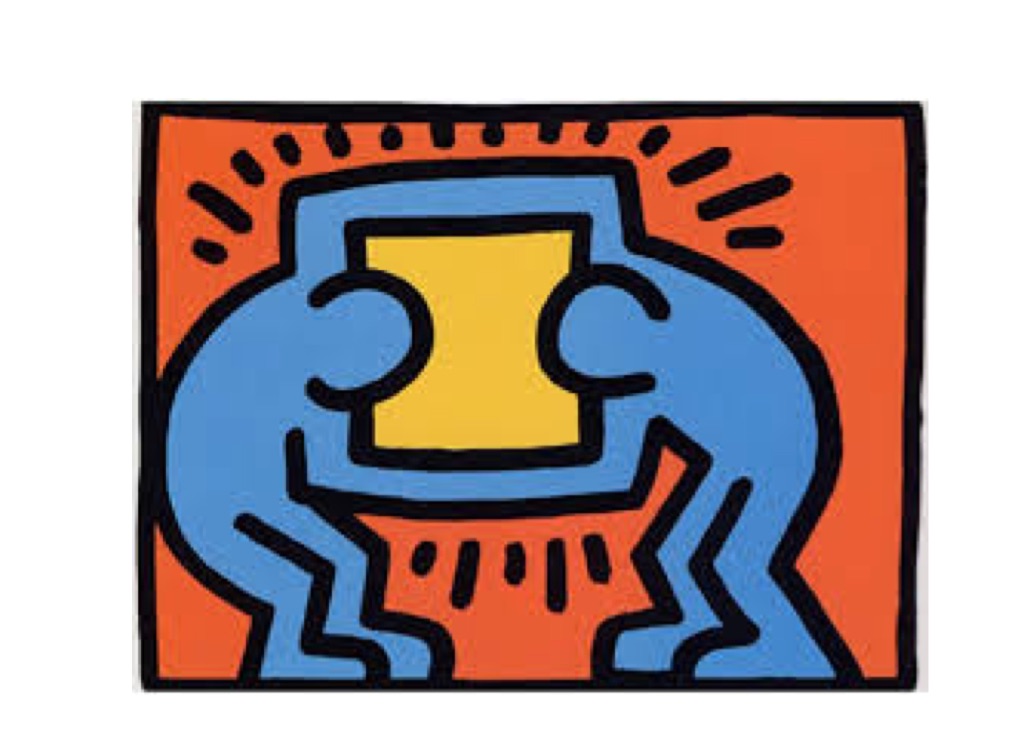
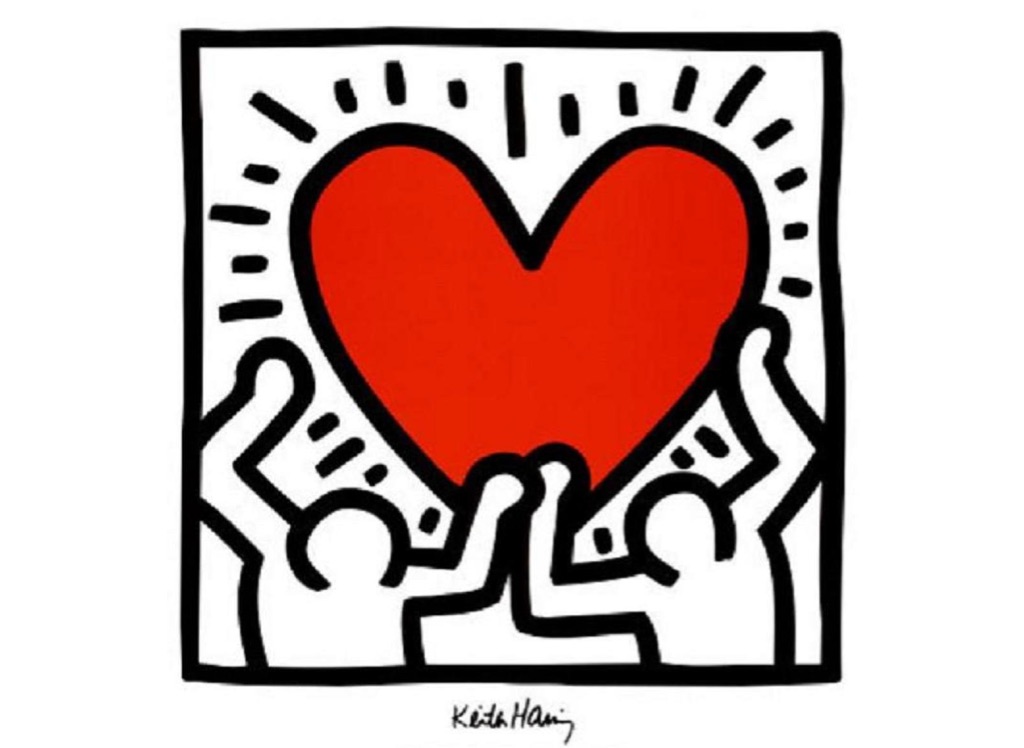
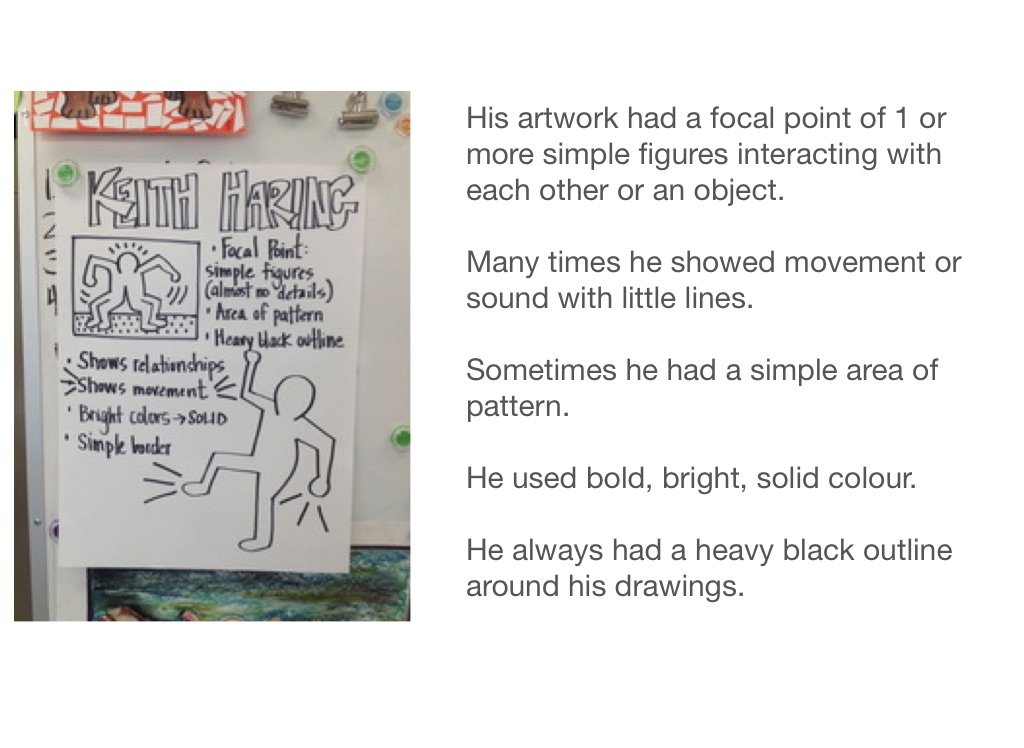
His artwork had a focal point of 1 or more simple figures interacting with each other or an object. Many times he showed movement or sound with little lines. Sometimes he had a simple area of pattern. He used bold, bright, solid colour. He always had a heavy black outline around his drawings.