







Mask making
Kimmy Cantrell
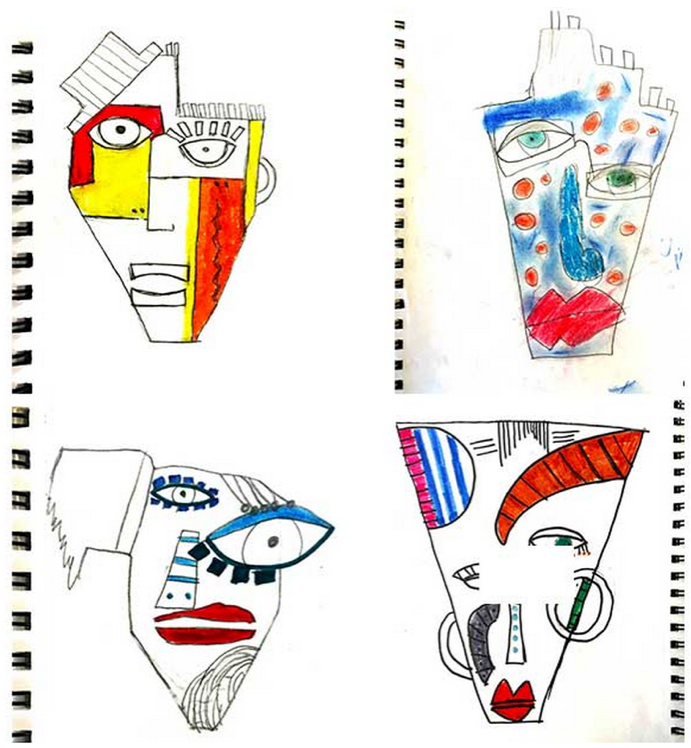
Student examples
created with children from 6th class.
Materials: • Sketchbook + pencil + eraser + markers and coloured pencils for planning stages • Reclaimed + repurposed cardboard- thin + thick + corrugated varieties • Scissors • Black markers • White glue • Pastels- oil + chalk variety
Explore the amazing creations of famous artist and sculptor Kimmy Cantrell. Look + brainstorm at the features that make Cantrell’s work unique, recognisable and his own.
Explore colour using marker and coloured pencils to plan a 2-D idea to construct in 3-D!
Once you select the sketch you want to create in 3-D, move into cardboard. A mixture of thin, thick and corrugated cardboard works best to create variety. Sketch out the shape of the face and cut out. Move into drawing out the different facial features (on separate pieces of cardboard) using pencil and then finalising with a marker. Cut out these shapes. Use layers of cardboard stacked and glued to create a variety of levels of “pop-outs” to add dimension and to create added interest.
Cardboard selection- thin, thick and various colours and sizes of corrugated texture.
Use both chalk and oil pastel to add colour! Chalk pastel creates linear patterns on corrugated cardboard. A simple hole punch can also add an exciting detail.
Layout and arrange the sculpture before gluing down and play with the arrangement.
Use additional markers to define shapes, spaces and to add more interest!
Look at the upper right corner of this piece filled with layered pattern of corrugated cardboard and cut squares.
Look closely for interesting textures. Use thinner corrugated cardboard for an additional fine detail!
Children LOVE when you showcase their work and this is one piece that is full of colour, design, pattern, texture, personality and conversation! How amazing it would be to frame one for a home!