Sign up for FlowVella
Sign up with FacebookAlready have an account? Sign in now
By registering you are agreeing to our
Terms of Service
Loading Flow

Downloading Image /
Downloading Image /
Downloading Image /
Downloading Image /
Downloading Image /
Downloading Image /

Steps
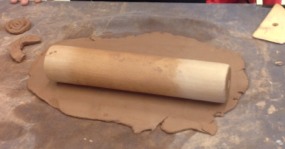
1.) First, you must take your clay and wedge it (slam it in the table repeatedly to remove air bubbles)
2.) Next, take a rolling pin and smooth your clay out on the table
3.) Now you will take the circular tipped clay tool and place it in front of the edge of your clay
Starting The Coils
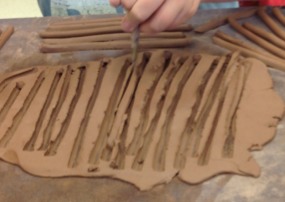
Beginning your coils is very vital to the process of creating a perfect coil pot. Without taking these first steps seriously, you will have a pot that will break in the kiln, etc.
Downloading Image /
Downloading Image /
Downloading Image /
Downloading Image /
Downloading Image /
Downloading Image /
Downloading Image /
Downloading Image /

FlowVella, Previously Known As Flowboard
© 2025 FlowVella
